You could call me a “lapsed” PC hobbyist. In high school, computer science and engineering were two of my favourite classes. I learned the basics of Turing, Visual Basic, and Java across three years of computer sciences and did whatever I could to apply those concepts to recreating old-school Final Fantasy games as final projects. Then in the next semester, I’d take computer engineering and tinker with the outdated tech donated to the school board and completed the ultimate goal of any high school tech student in the early-2000s: create a LAN network and get it playing Doom II.
And then I let it all fall by the wayside. I ultimately pursued a different path, reducing tech to something that piqued my curiosity, an itch sufficiently itched by keeping up with emergent game consoles and smartphones. Instead, I moonlighted as the family IT guy, troubleshooting problems, and only briefly humouring a dream of chasing A+ certification as a career pivot point.
Most people picked up some unlikely hobby turning the pandemic, like crocheting or baking sourdough. For me, my mind began to wander back to those days of tinkering inside machines. In time, curiosity and necessity began to overlap, and I set out to build my own PC from the ground up.
Goals
Modernize & Futureproof
When the “work from home” era began, I had an outdated and rarely-used desktop and a fairly standard HP laptop to rely on. Both began to show their age under my increased demands, however.
I could do what I needed for my various outlets and applications, but it was taking longer and longer. Podcast editing was particularly gruelling, especially as recordings had become remote and expanded to multiple tracks. My regular Twitch streams were impacted by dropped frames, and I couldn’t play a game and broadcast it. Playing any remotely demanding game on either machine was out of the question. Even web-browsing and rebooting grew tedious.
So first and foremost, this new machine needed to be strong enough to keep up with modern computing. I also wanted to stay mindful of the potential to upgrade and expand over time, something I had neglected with my last desktop. If I build this thing myself, I can maintain and upgrade it too.
Keep a Low Budget
With so many people also interested in upgrading their home computing power, and every industry desperately clamouring for chips, components have shot up in price. It can be all too easy to break the bank and drive up the project’s budget seeking a new hot component.
Even if I was fortunate enough to have access to some review items and secondhand components, I wanted to ensure the overall initial build budget wasn’t exorbitant—ideally below $2000, a modest price point for a custom-built gaming PC. Unfortunately, this ruled out any of the latest video cards for the time being.
Build Close to Needs
Similar to the previous point, I didn’t want to shoot for overkill. I mainly use my computers for creative work—namely writing in various forms, editing podcasts, and occasional Photoshop exercises—and light gaming. I’m also not much of a frame-counter when it comes to games’ graphics; if the game isn’t lagging enough to interfere with my inputs and enjoyment, I’m satisfied.
To these ends, I wanted to be able to play Final Fantasy XIV on relatively high settings, browse the web seamlessly, edit sizable podcast projects without drastic slowdown, and stream PC games to Twitch without hurting the output. I wasn’t looking to hit the very ceiling of the computer gaming experience and attain the pinnacle of 4K graphics.
The Components
With these purposes in mind, I spent some time deliberating over product listings and online tools like pcpartpicker.com and even PC Building Simulator to see what components I might need. Ultimately, I settled upon the part list below with guidance from CGM editor-in-chief Brendan Frye. Items marked with an asterisk were graciously supplied by the manufacturer for the purposes of this feature, and the rest were sourced locally or pulled from CGM’s reserves:
| Type | Part | Price |
|---|---|---|
| Case | Cooler Master Mastercase H500 ARGB* | $149.99 |
| Motherboard | MSI Z490 Gaming Edge Wifi | $299.00 |
| PSU | Cooler Master V650 Gold v2 (White)* | $154.99 |
| CPU | Intel Core i5 10600K @ 4.10GHz, 6 core | $299.99 |
| CPU Cooler | NZXT Kraken 120* (installed later) | $109.99 |
| GPU | AMD Radeon R9 200 Series | N/A |
| RAM | Kingston KF2666C16D4 DDR4 (2x8GB) | $84.99 |
| Storage | Western Digital Black SN750 1TB | $164.99 |
| OS | Windows 10 Pro | |
| Monitor | ViewSonic VX2718-PC-mhd* | $377.99 |
| Mouse | SteelSeries Rival 5 | N/A |
| Keyboard | SteelSeries Apex[RAW] | N/A |
| ~$1650 |
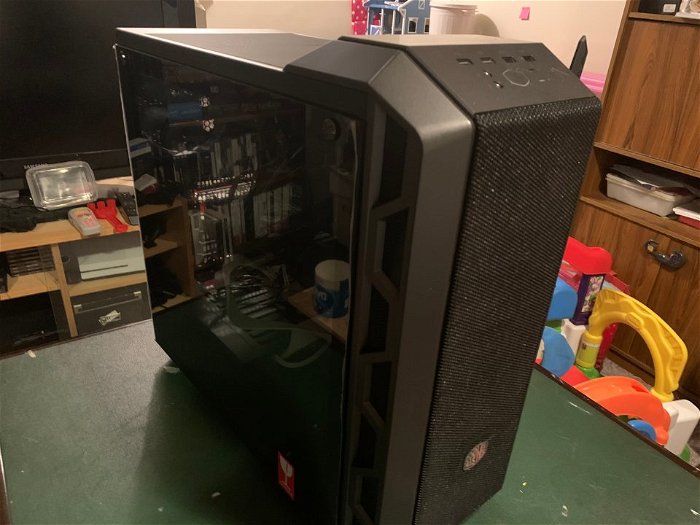
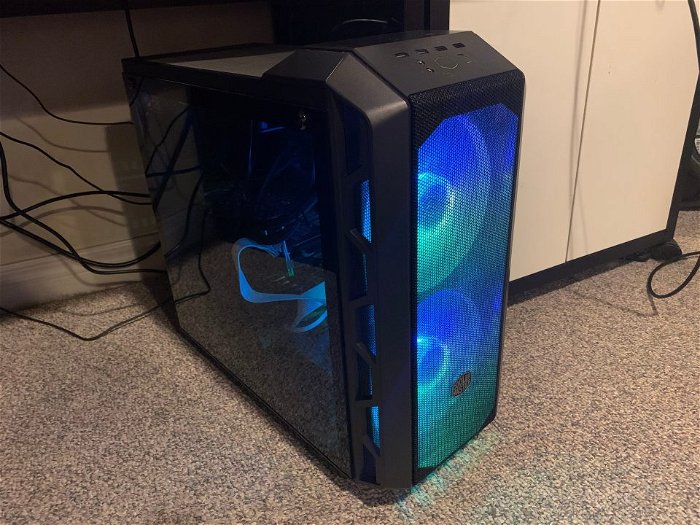
Having been on the sidelines of the PC scene for so long, one of the biggest changes I noticed was the shift in aesthetics. When I built PCs in high school, they were boxy, plain, grey affairs, and even my 2013 desktop was pretty simple. Today’s cases are simultaneously sleek and massive. I had a couple of different options in mind for the case but ultimately settled on Cooler Master’s Mastercase H500 ARGB. I liked its style, and it was big without overtaking my work area—in my family’s den where wee ones can get to it.
For the rest of the internal components, I had few must-haves aside from a 1 TB minimum SSD and at least 16 GB of RAM. Having no real preference over CPU brands kept options flexible, and quickly deciding that new GPU prices were too ridiculous for the time being was also a burden off my shoulders.
For input devices, I reappropriated the mouse and keyboard from my existing desktop. The Apex [RAW] is an old SteelSeries model that still serves me well long after its purchase, while the Rival 5 became a staple for me since I reviewed it earlier this year.
Process
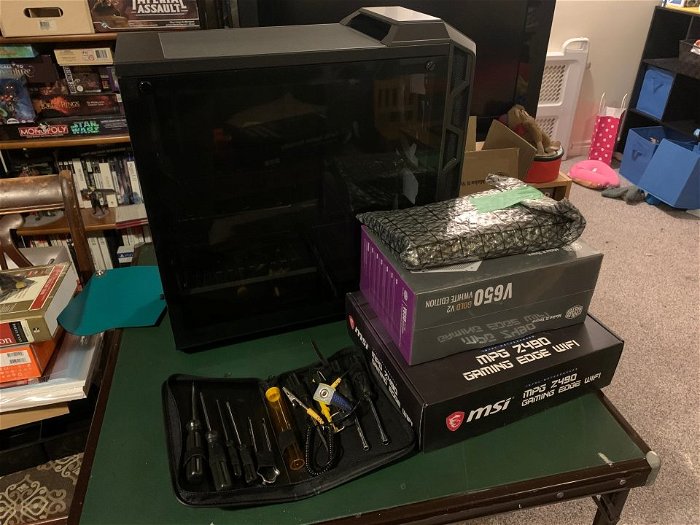
Since the motherboard and CPU were taken from one of the office’s computers, Brendan actually installed the CPU for me, instead of risking damage in transport. Armed with a set of tools from Canada Computers and a stack of components, I set about putting everything together.
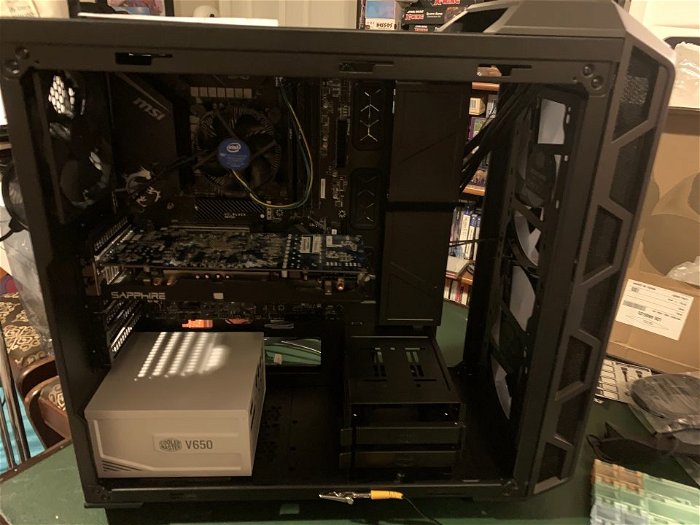
By and large, the actual assembly took me two evenings and went smoothly… for the most part. The Mastercase H500 ARGB is surprisingly cunning in its construction, with discrete passthroughs for cables. I was still discovering new nooks and crannies by the time I finished. Physically installing the components to their homes proved the easiest part—but less so for the power cables.
Again, PC designs have changed a lot in nearly twenty years. RGBs weren’t a concern back in my high school engineering class. The hardest part, by far, was slotting the tiny power connectors into their specified spots with my large hands. As spacious as the case was, this was still nitty-gritty work. Luckily, Cooler Master’s V650 PSU came supplied with every cable combination I could have needed, and then some.
Physical constraints aside, I quite enjoyed the experience, almost like solving a very large puzzle. It all came to a head when I finished installing parts, closed the case up, powered it on… and got nothing.
Long story short, I had incorrectly connected the cables for the case’s front panel, and the power button’s signal was lost in transmission. I spent an hour troubleshooting over the phone with Brendan, stripping back all the connections to the system’s bare minimum until I got video on the monitor, then adding components back in.
And by the (late) end of the second evening, I had a functioning new PC.
Results
After some time with this new system, I can safely say that my goals were met, if not surpassed. Barring the price of the older, secondhand GPU and the reused peripherals, the component list stayed below $2000 with room to breathe, for starters.
Making the leap to a SSD almost justified the whole project entirely; I had heard how great they were, and even experienced them in the PS5 before this, but the speed increase cannot be understated. Booting up my last desktop used to be a 10-minute affair from pressing the power button to using the system without delays. Now I can be up and running within 30 seconds.
I’ve yet to find a hurdle that this build can’t really surpass. To my surprise, it handles Final Fantasy XIV at its highest specs comfortably—feeling like it meets the same level as the PS5 version—and I can even stream it. Heavy applications like Photoshop and four-track podcast editing work like a charm. If I failed any goal, it was to keep the power modest, as I could get much more out of this machine than I am currently.
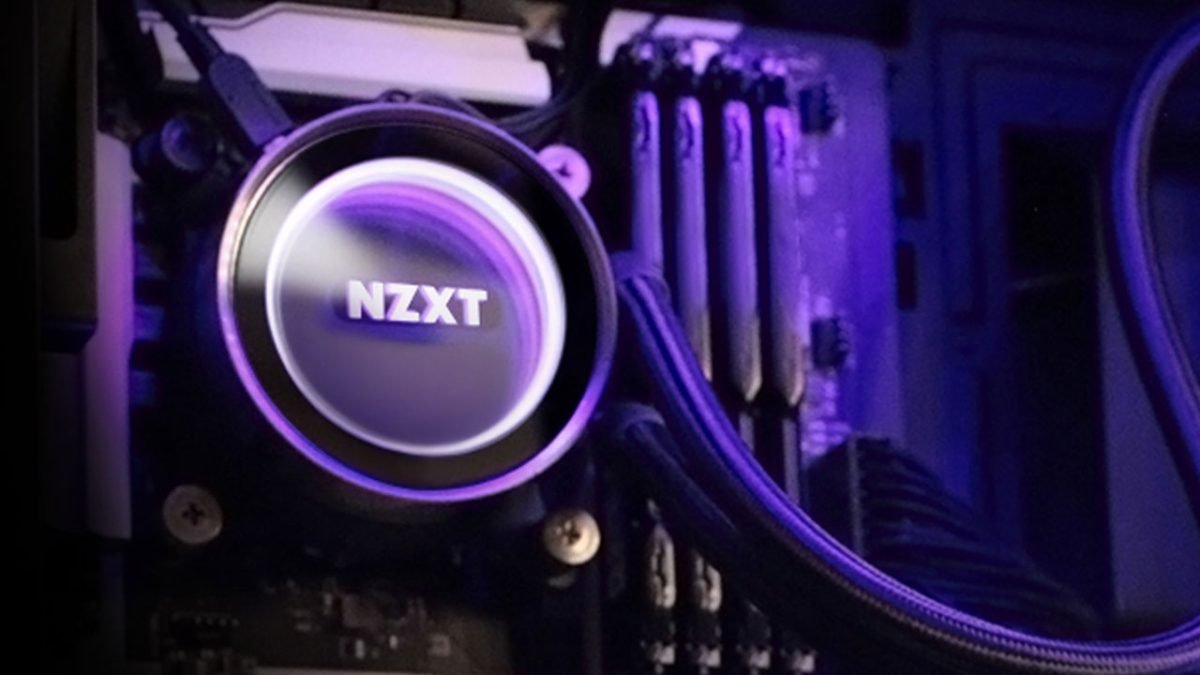
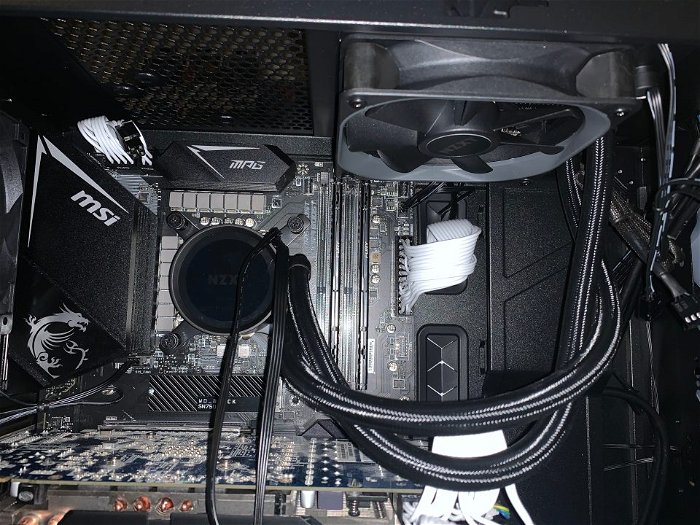
About a month later, I reopened the case to replace the stock CPU fan with NZXT’s Kraken 120 liquid cooler. Its radiator is bulky, but I was able to fasten it to the top of the H500 ARGB. I’ve since been using their CAM software to keep an eye on the internal temperature, and am happy to report it stays near a comfortable 30 degrees, hardly hitting the low-40s when under heavy strain.
Next Steps
In keeping with my first goal, I have a loose roadmap of the things I’d like to update. The first step was to upgrade the stock fan, which I did with the Kraken 120.
The biggest thing on my wishlist is to upgrade the graphics card, but it just isn’t practical at current prices. If a 3060 or 3070 could be obtained at MSRP, I would happily slap it into my new machine and enjoy the gratuitous power. But for now, the old card serves all my purposes ably.
Otherwise, one of the biggest changes has nothing to do with the tower itself, but rather the space around it. I’m brainstorming ways to use my current space more efficiently and may end up upgrading my desk itself, expanding to a second monitor and finding a way to extend my internet access so that I can plug the computer in via an Ethernet cable.
I can’t deny that I’m interested in adding more RAM, too. An overkill 32 GB sounded very appealing. However, I’ll likely stick to practicality and install more physical storage, possibly a standard hard disc drive for bulk file storage. And while I’m at it, I intend to see what I can do to improve the cable management; I think the results weren’t bad for a relative newcomer, but this is always something that can be improved.
Wrapping Up
Was it all worth it? Well, it would be hard to say the power increase wasn’t worth the time spent planning and executing the build. But I’m certainly satisfied that I was able to rig this up myself with a little guidance. I could have paid about the same and had someone build it for me, but there’s a low-key sense of satisfaction I get every time I power the PC up, knowing that I assembled it.
I feel like I’ve regained an old skillset, to an extent, and much more compelled to keep up the maintenance on it. I was happy with the last PC I bought on a Boxing Day sale, but I feel proud of the new machine I put together.
