Today’s kids are captivated by technology, and with so many parents and teachers looking to incorporate STEM into play, Kidoodle’s Minibox A1 3D printer offers an alternative to staring at tablets or TVs, and with a practical outcome, no less.
Over the past decade, 3D printing has grown as a popular hobby. It’s hard to walk through a local comic-con event without encountering small businesses offering custom-made plastic trinkets. While fascinating, it’s also an expensive field, often requiring a significant amount of trial and error.
Kidoodle seeks to take a craft that seems impenetrable and make it accessible to even the curious minds of children. The Minibox A1’s efficient design is simple enough to be operated by school-age kids, while also keeping them safe from any hot or moving parts.
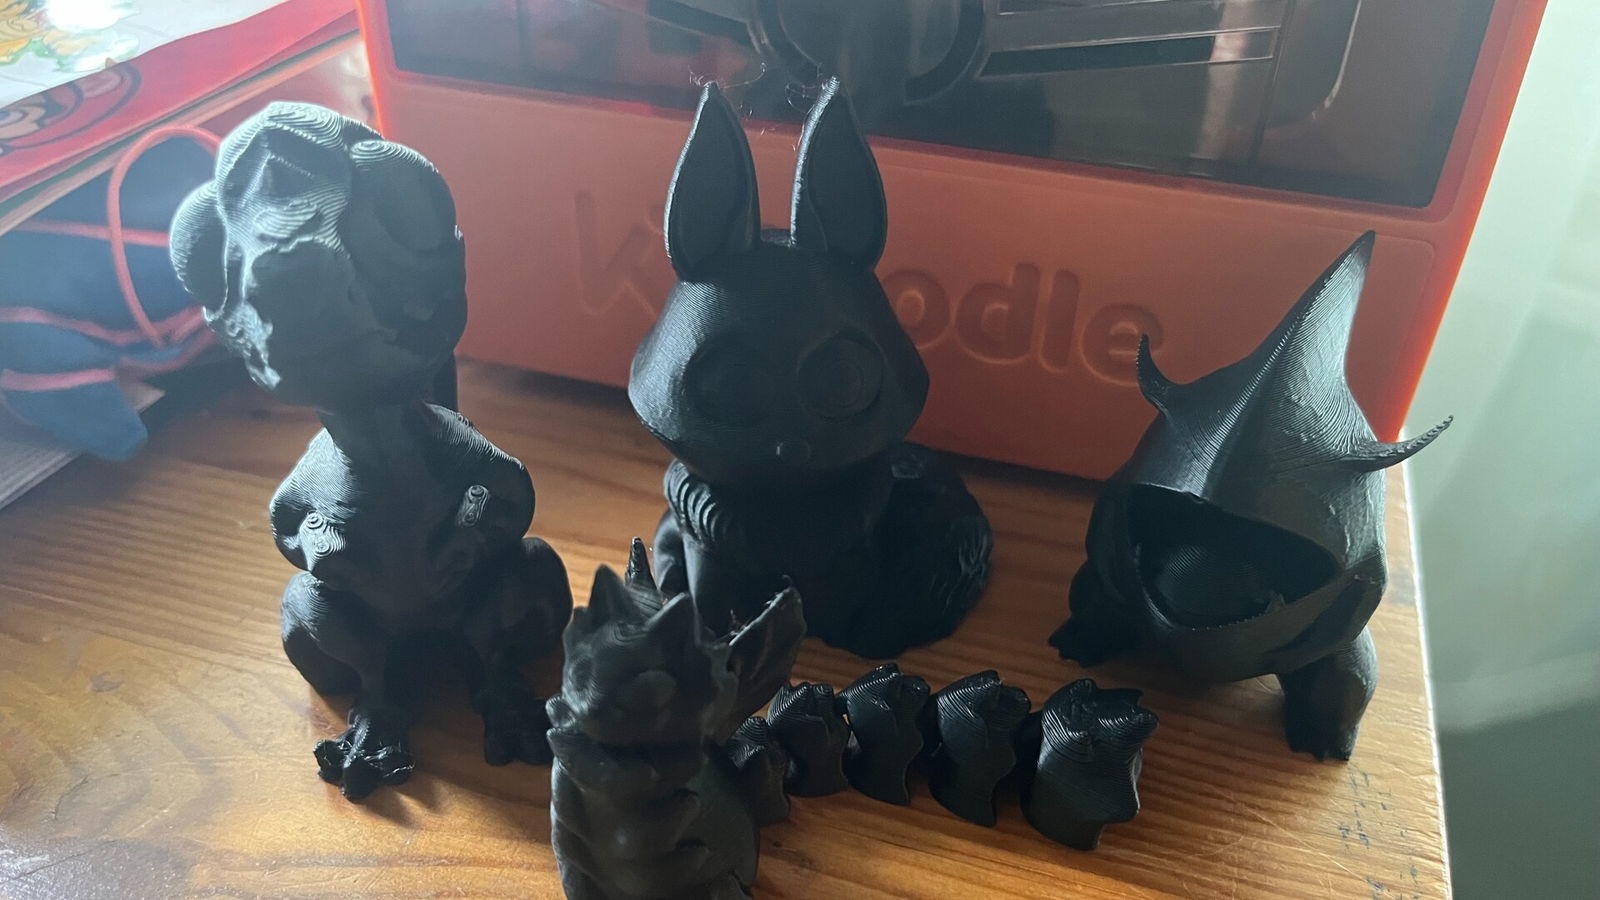
Having only passing experience with 3D printing through a friend (who has, admittedly, sunk thousands of hours into crafting much more complex models on much more advanced machines), I was excited by the idea of an affordable 3D printer that wouldn’t need its own dedicated space in my home. Even better if my kids could also use it without me worrying about them either hurting themselves or messing up the fine calibration—and Kidoodle’s little orange box largely lived up to the possibilities.
Minibox A1: Setup
Measuring approximately 10.5 inches high, 7.5 inches wide, and 9.5 inches deep, the Minibox A1 doesn’t take up much space and can easily fit into a crafting area or home office—ideally somewhere it can be operated with supervision. Fortunately, the setup was much easier than I anticipated, taking about 10 minutes from unboxing to powering on the unit, with only a quick Google search needed to clarify some unclear wording in the manual. Within half an hour, the printer was already producing our first test model.
(There was only one slight inconvenience, in that we received a European review unit, and had to use an outlet converter to get it working. However, this shouldn’t be a concern when ordering directly from Kidoodle’s website.)
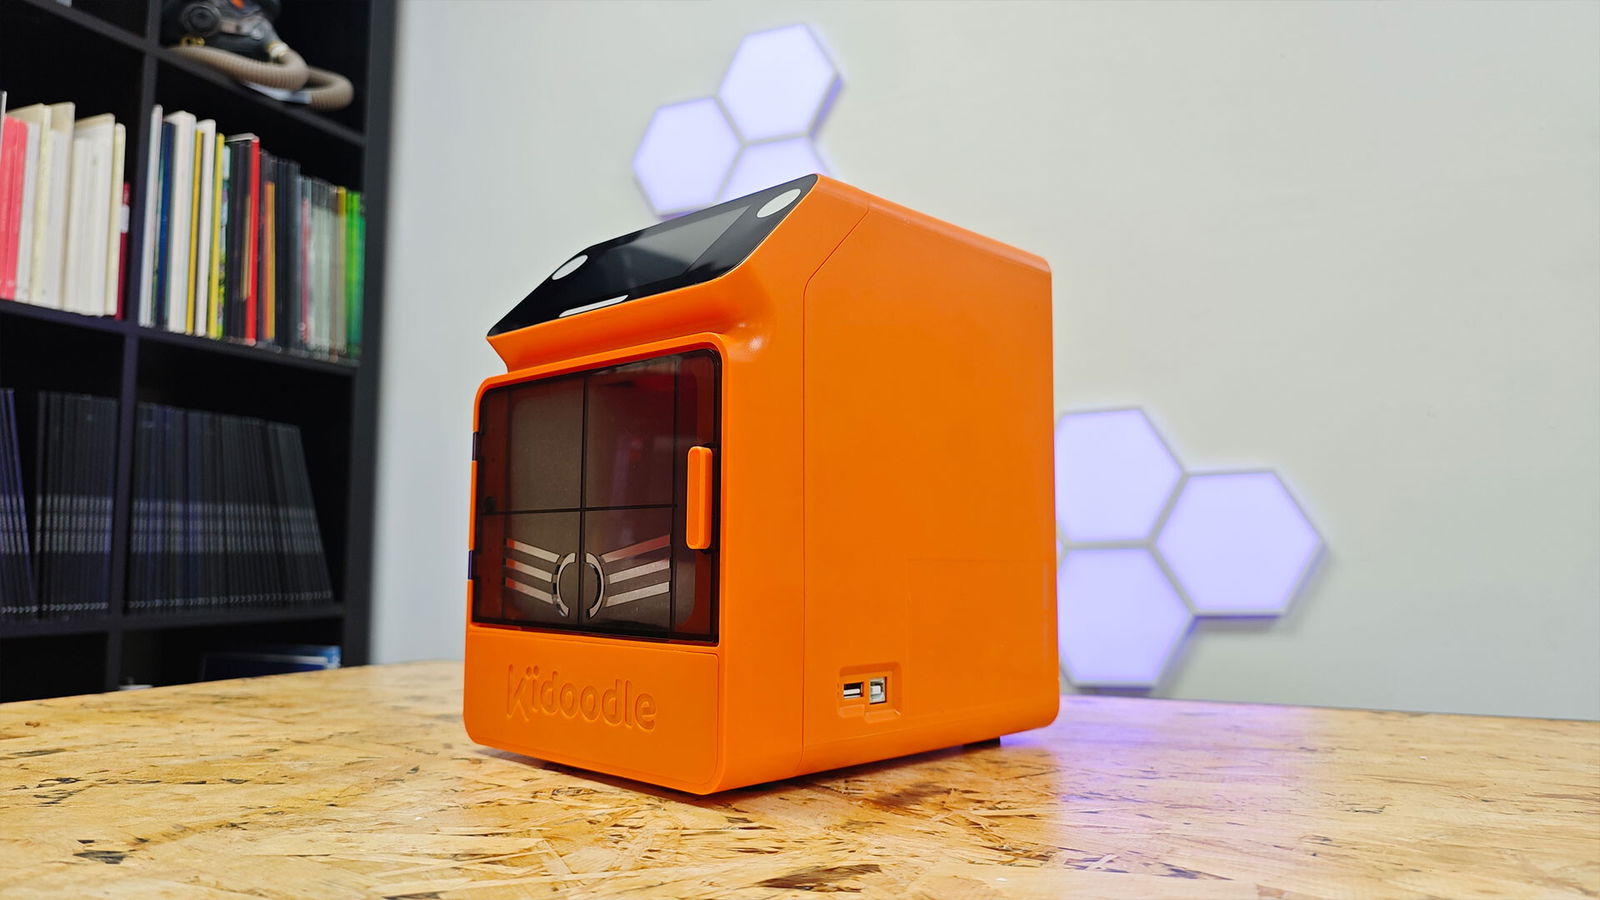
Most of the Minibox A1 unit comes pre-assembled out of the box, and half of the setup process involves simply removing the protective packaging. After that, you need to attach the rack that holds the included test roll of PLA filament, connect the feeding tube from the filament to the nozzle, and then feed the filament into the machine.
“The Minibox A1’s design is certainly child-friendly, but unfortunately, 3D printing is an art that can’t readily be made fail-proof.”
The included filament rack is designed for 250g rolls. However, the built-in file library includes a design for a 1kg rack that can be printed on the machine itself. It’s a good idea to print this before using too much of the demo roll, as 1kg rolls are widely available online. Keep in mind, though, that the 1kg rack may not fit all types of filament rolls, so you’ll need to be mindful of compatibility.
Included in the box is a USB drive containing PDF copies of the manuals, tutorial videos, a few additional designs, and the software for converting .stl files (which you might download from repositories like Thingiverse) into the printer’s format. I’ll go into more detail on that later.
Operation
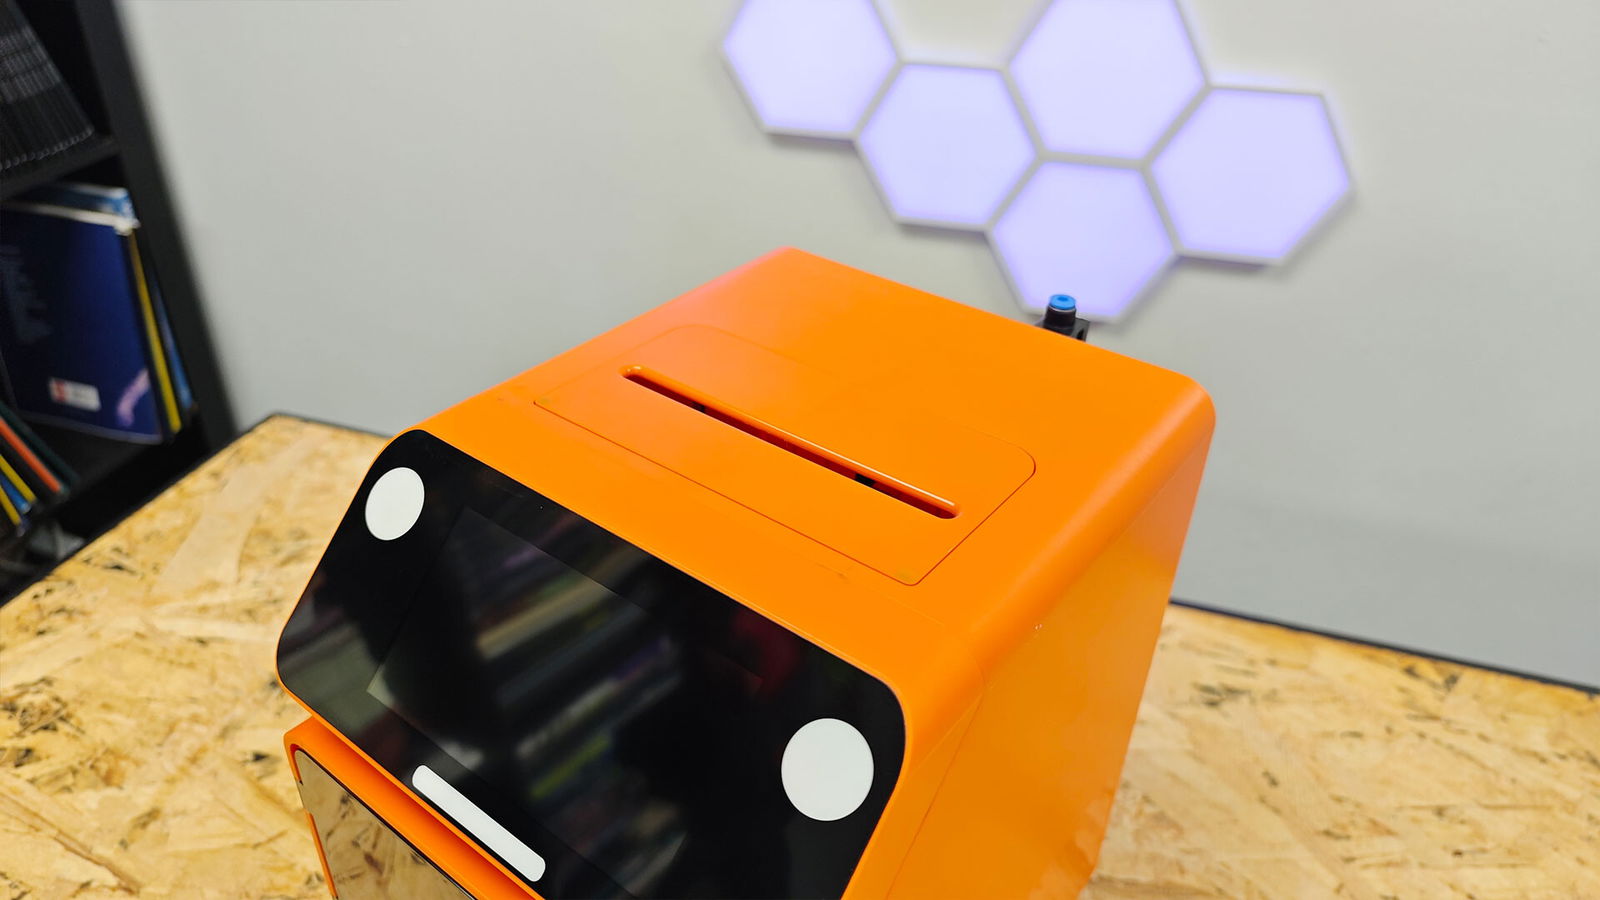
Once setup, the Minibox A1 can be controlled and monitored through either the built-in display or from Kidoodle’s dedicated smartphone app. Both approaches offer a pretty standard suite of kid-friendly designs, from simple numbers and letters, to cute animals, to game pieces. The library is simple for kids to navigate, especially given how adept they already are with tablets and touchscreens. With only a couple presses of a button, the printer can be given its assignment and fired up.
Should inquisitive young minds attempt to open the printer’s door while it’s in operation, it will sound a rather shrill alarm and immediately pause printing. Otherwise, its built-in light and fans kick into gear and the printer nozzle does its thing. Kids will probably feel compelled to stand in front of it and watch the whole show; it is oddly hypnotic and satisfying to watch the nozzle build up your creation layer by tiny layer.
The Minibox A1’s design is certainly child-friendly, but unfortunately, 3D printing is an art that can’t readily be made fail-proof. For example, a couple of the built-in designs weren’t optimized so that they were printing on a solid base—I tried to print the included die design a couple times and ended up with a pile of misshapen plastic instead. And as much as the design tries to keep the filament roll from snagging, it can still happen, throwing off your whole print.
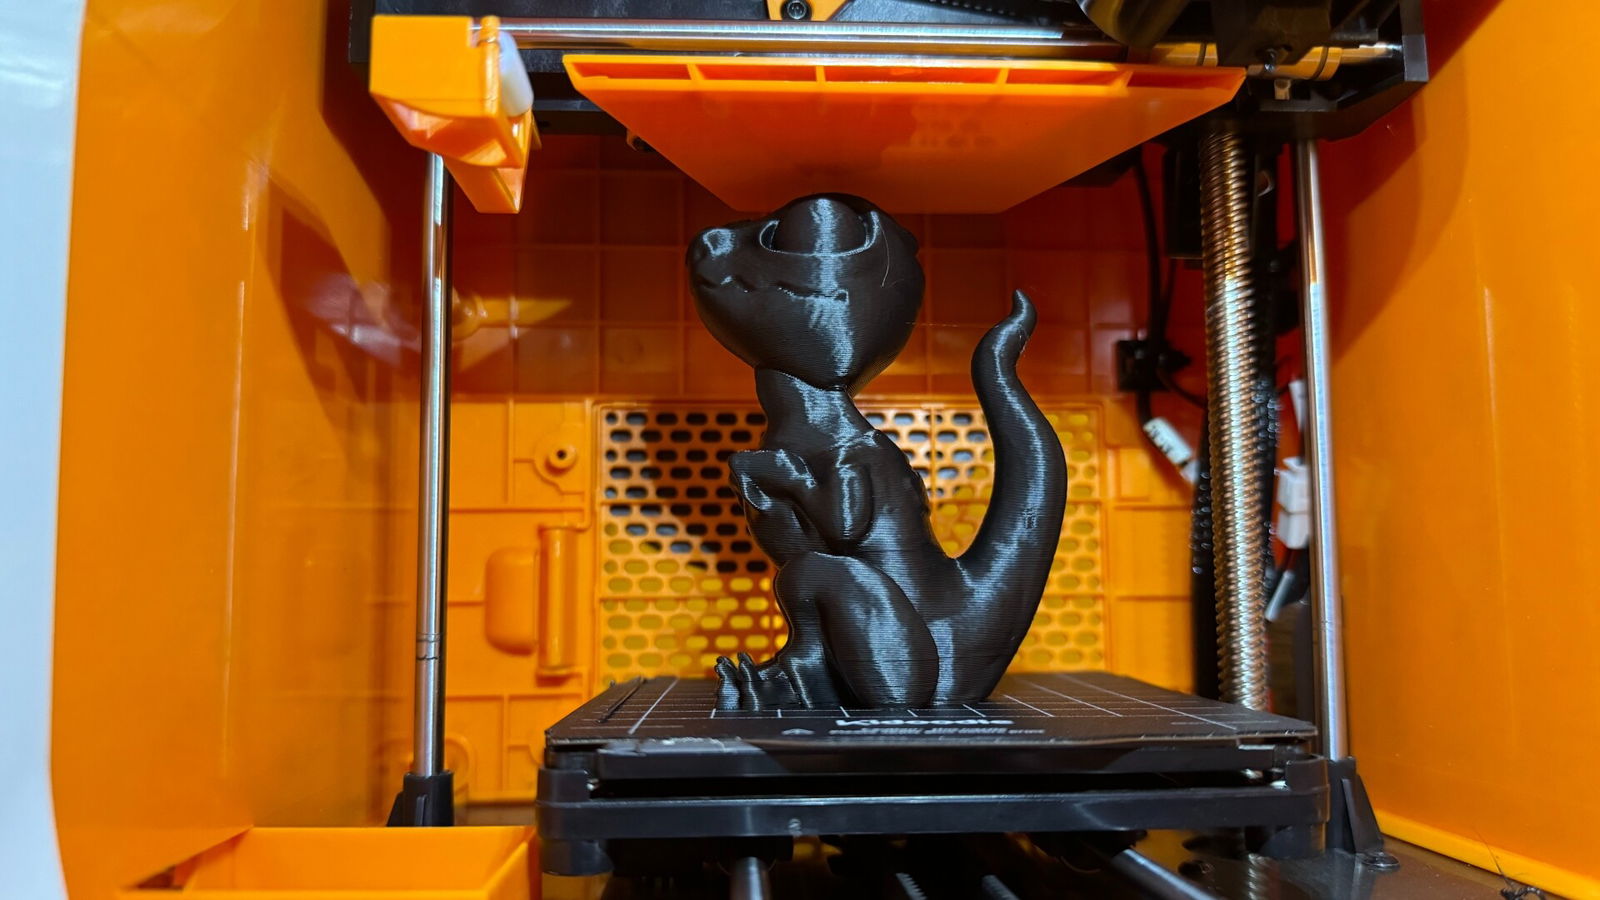
This is where I recommend adult supervision, at least for younger would-be operators—less for safety, more for mitigating the side effects of prints going wrong. Filament isn’t necessarily expensive in itself, but it’s not cheap either, and the less wasted plastic the better. The smartphone app comes in handy for monitoring overall progress and status, though it’s better to have an eye or ear out to catch the more obvious signs of project failure.
I got more use out of the trial filament roll that came with the Minibox A1 than I expected, but on the flip side, the print times weren’t quite as speedy as advertised. After several prints I began adding another 50% to the estimated printing times on the apps. That being said, once a print was done it was easily removed from the printing tray.
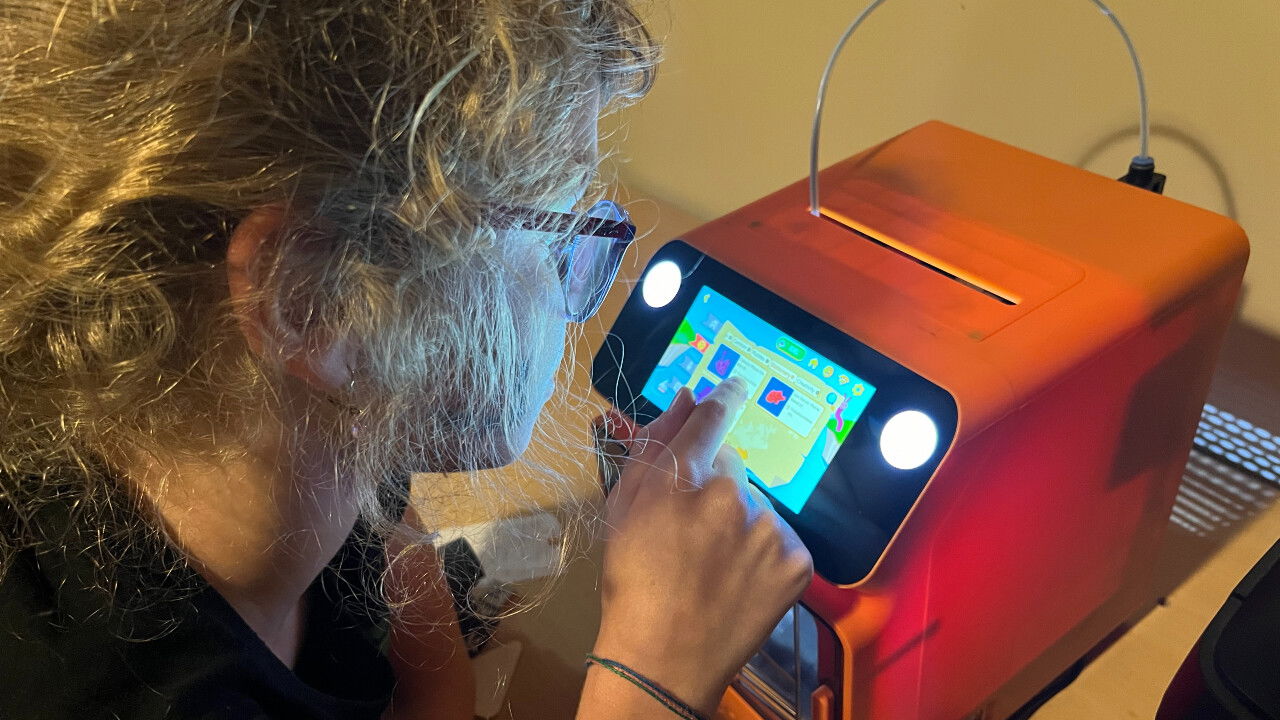
Some of the built-in designs were surprisingly complex, even featuring jointed segments that didn’t require additional assembly. The majority are pretty simplistic, though, and this default library could grow stale pretty quickly. That’s where Kidoodle’s included slicing software comes in handy—import an .stl file into it, and it will convert it into the Minibox A1’s required format. It’s an incredibly barebones program, perhaps to appeal to kids’ technical knowledge.
That being said, it’s important to keep the printing dimensions in mind when looking for designs. The box has a limited printing space and a very obvious ceiling for how high it can work.
Is the Minibox A1 Worthwhile?
Speaking of that limitation, we come to an important question: is Kidoodle’s Minibox A1 a worthy investment? This will prove to be a pretty situational quandry.
For the most part, it’s a convenient machine. Kids can learn the basics of 3D printing without parents needing to hover over them constantly. It can be handy around the house for replacing game pieces, printing small toys and art projects, or even creating custom-made gifts.
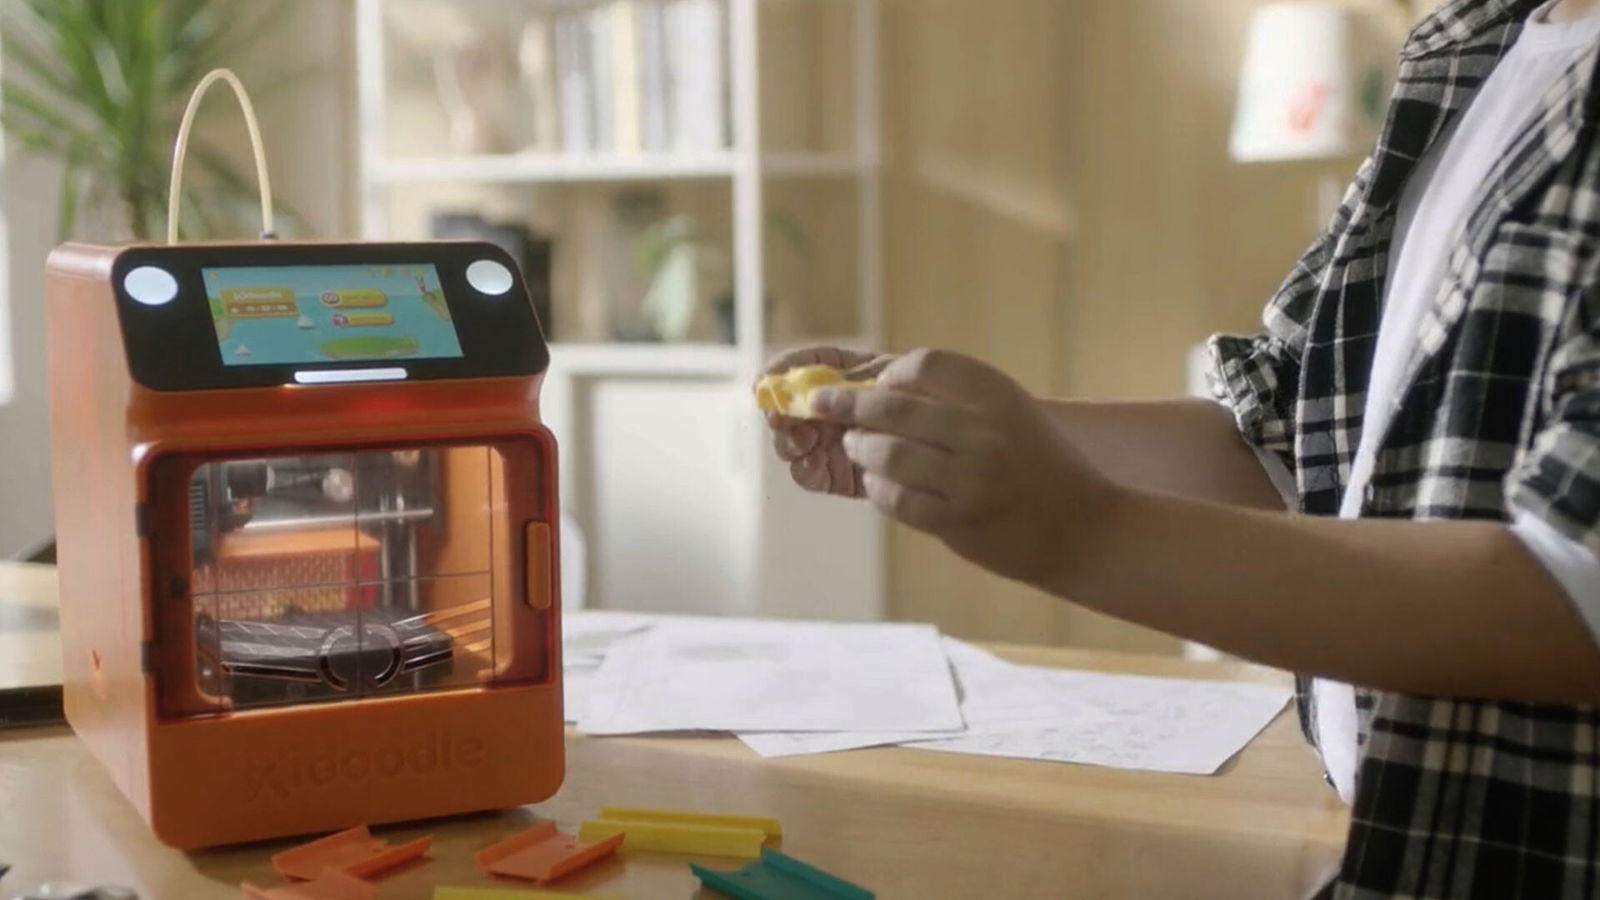
Its out-of-the-box appeal might fade over time as kids seek bigger, more ambitious projects, but I have to admire how accessible it makes this often finicky craft. The price is also remarkable—at an MSRP of $88 USD, it’s a fraction of the cost of larger machines. So, if the young ones lose interest, it’s not a huge financial loss.
That being said, the Minibox A1 is not without its drawbacks. The bed size is a significant limitation—small enough to be a selling point, but only able to handle the smallest projects. If several family members are serious about 3D printing at home, it might be more practical to skip this introductory step and invest in a full-featured printer, allowing everyone to work out the kinks together.


