

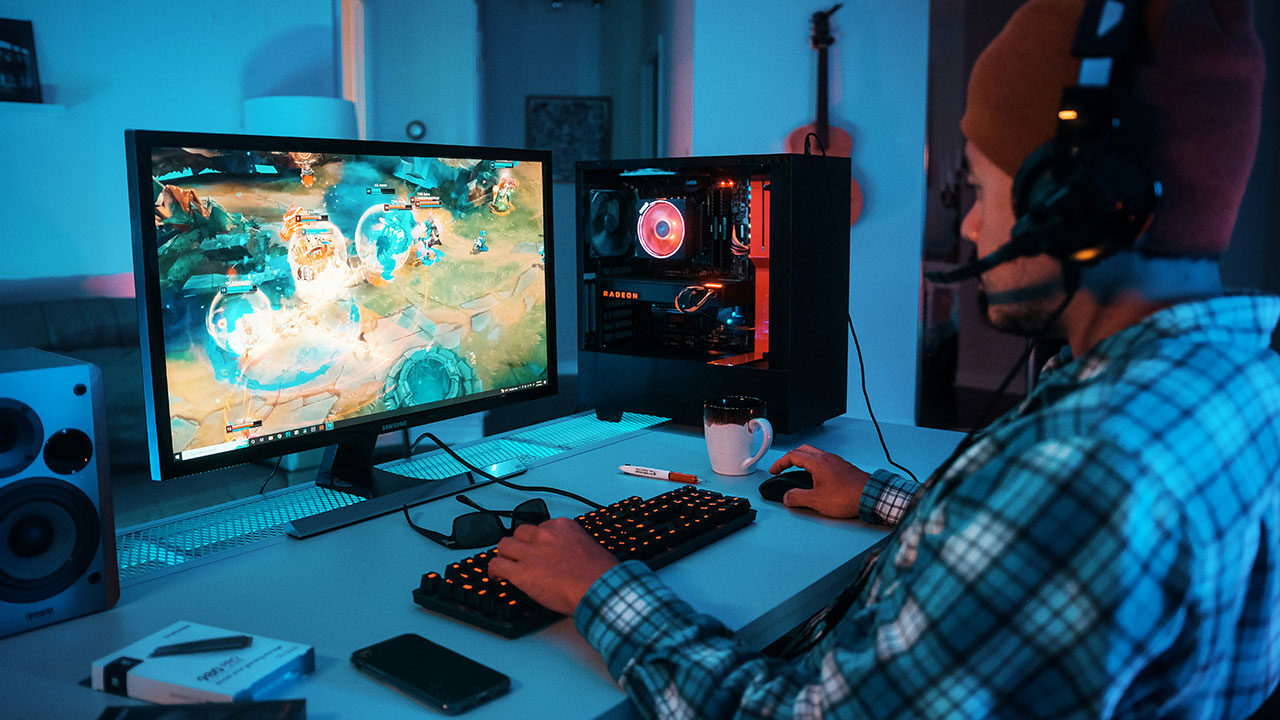
Gaming content may look good, but the video footage can become difficult to manage during editing and processing. In the process of making gaming content, the creator may choose one file format to record a long game session, realize that the editor or publishing tool works better with another format, and decide to convert files to move forward with the production process. Choosing the right format from the beginning or knowing when conversion is needed could help in saving time and ensuring the quality of the gaming content footage.
Conversion of the MKV video to MP4 will help ensure that the file is compatible with more devices. The process of converting the mkv to mp4 will also include changing other settings like the codec.
Why Format Matters for Gaming Videos
A gameplay recording consists of more than just an image on the screen. A recording may include video, audio from the game, microphone voiceovers, subtitles, and others. The format is responsible for the way all these components are put together.
MKV, or Matroska, is a multimedia container that is supposed to store multiple streams of audio, video, and subtitles. This versatility makes MKV useful in cases when a creator wants to put several components in one file.
By contrast, MP4 is a specialized multimedia container which is usually used in production workflows to store files for web and mobile applications.
It is important to understand that MKV and MP4 are containers, which means they do not determine the quality of video themselves but rather serve as a platform for other factors.
Tips for Better Gameplay Conversions
Conversion should be included in the process of editing instead of being a random procedure performed on the file that fails to open.
1. Save the Original Recording
Never get rid of the original MKV recording right after the conversion. Wait until you review the MP4 file entirely.
It may help in case the new file turns out to have no sound, subtitles, sync issues, or unexpected quality.
2. Examine the Codec Before the Conversion
The container and the codec are different things. An MKV file can have other codecs for the video and audio inside.
Examine the following before the conversion:
- Video codec
- Audio codec
- Resolution
- Frame rate
- Bitrate
- Amount of audio channels
- Subtitle tracks
Such information will help in deciding on the output settings.
3. Skip Re-Encapsulation, If Possible
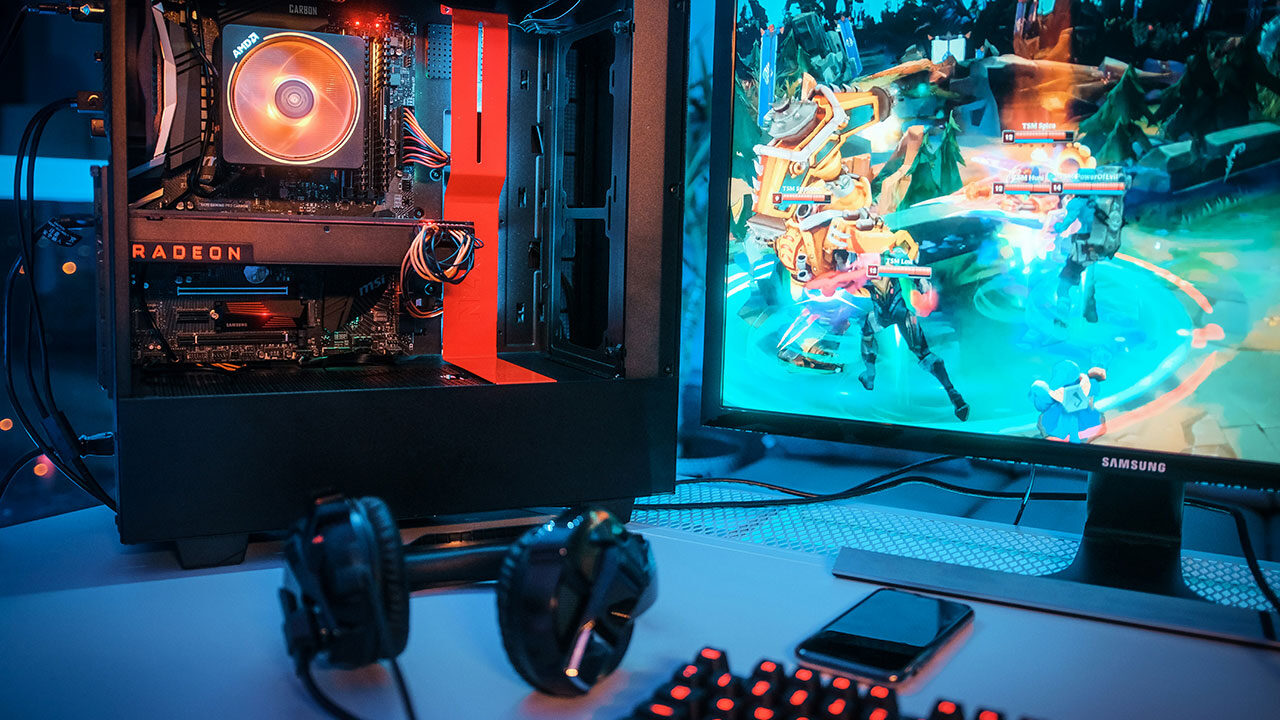
In case your workflow enables you to copy the video stream into the new container, you may save yourself from another round of encoding. If you need to encode, be sure to choose your codecs, qualities, and resolutions carefully, since an inappropriate choice may result in an increased size without any improvements.
Use Conversion Settings with Caution
Footage of games is known to feature fast motion, small UI details, particle effects, and rich backgrounds. In this case, compression errors can be noticed very quickly.
The best strategy would be to try a few seconds of footage to see whether the entire two-hour video should be converted.
Check the following:
- Rapid camera motions
- Low-light shots
- High-quality textures
- Details of HUD
- Character silhouettes
- Sound synchronization between voice and gameplay audio
If everything seems good, apply the same parameters to the bigger file.
The conversion process is done on the cloud server, meaning that content producers do not have to rely solely on the capabilities of their computers but can work via the browser when it comes to conversion. According to MDN, cloud computing is a computing system whose computing powers are accessed over the internet.
A Simple Workflow for Gaming Content
The use of a simple workflow to create gaming content can prevent any technical mishaps along the way:
Record: Record your gaming session using the proper settings for your project.
- Backup: Store the original recording for safekeeping.
- Inspection: Inspect codecs, tracks, resolution, and frame rate.
- Conversion: Convert to an MP4 whenever your workflow demands that you do so.
- Test: Test a part of the newly converted file before editing everything.
- Editing: Edit for highlights, comments, captions, music, and overlays.
- Export: Export the final product based on the platform’s specifications.
- Backup: Back up the necessary files.
It is especially helpful for creators who make several pieces of content out of one gaming session.
Final Thoughts
File conversion not only includes file renaming. As far as game footage creators go, file conversion is essential in dealing with footage from recording to editing until its publication.
MKV format will suit the situation where flexibility of a file format that supports multiple streams becomes necessary. In contrast, the MP4 format will be appropriate for cases where file compatibility is concerned. With the help of storing original footage, establishing the used codec, testing small clips, and other measures, it will be possible to do file conversion without neglecting the quality of the files.