

Every few years, a company walks into a category that’s been dominated by enthusiasts and tinkerers and says, “What if this was just… less of a hassle?” Bambu Lab did it with 3D printers, and now it’s doing it with laser engravers. The R1 is Bambu’s first desktop laser engraver, and having spent a good chunk of time with it, plus the rotary attachment, the riser, and the conveyor, I can tell you that while the setup wasn’t hassle-free, it mostly pulls it off.
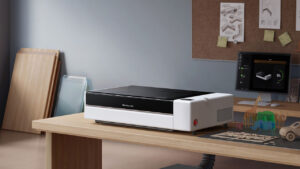
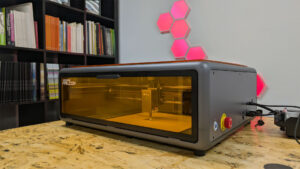
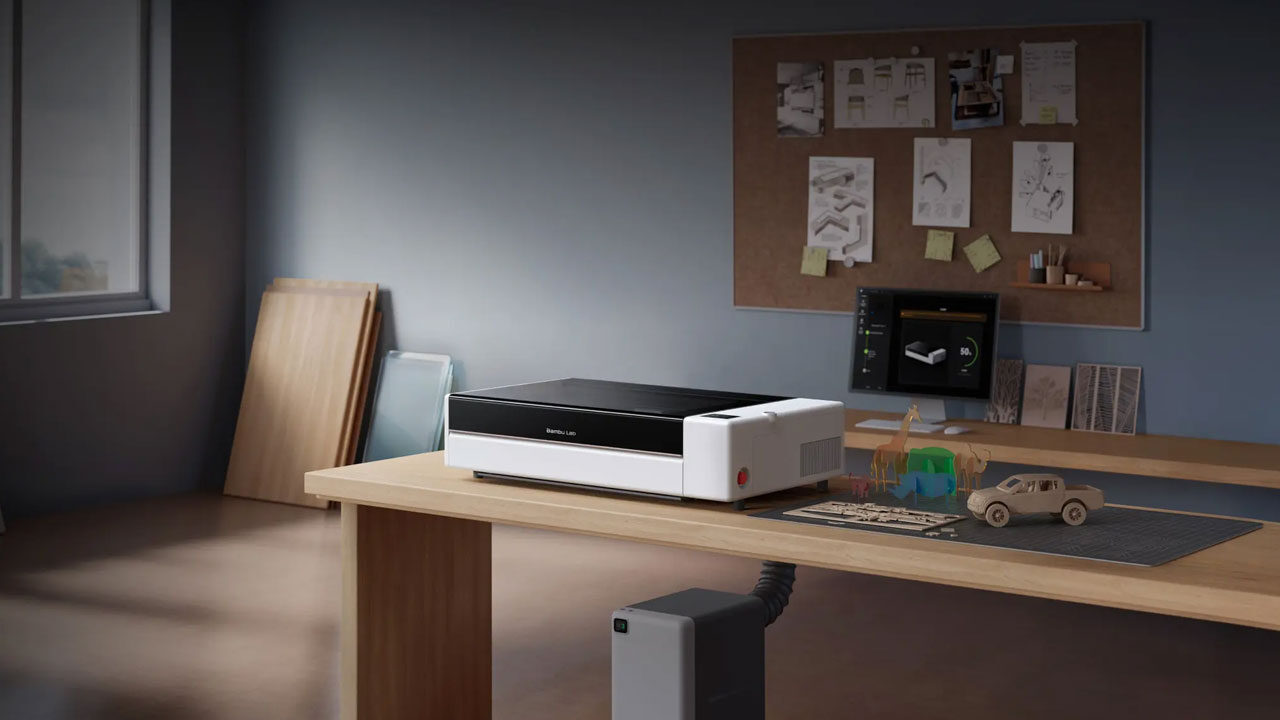
The Bambu Lab R1 is a desktop consumer laser engraver, and I want to stress the “desktop” part, because it is exactly that, the size of a bigger desktop. This isn’t a pocket gadget you tuck away in a drawer, or some attachment you can plug into your Bambu 3d printer, and it isn’t a gantry-sized workshop monster either. It’s a machine you can realistically park on a workbench or a sturdy desk in a spare room, as long as you’ve given it the real estate and thought about ventilation.
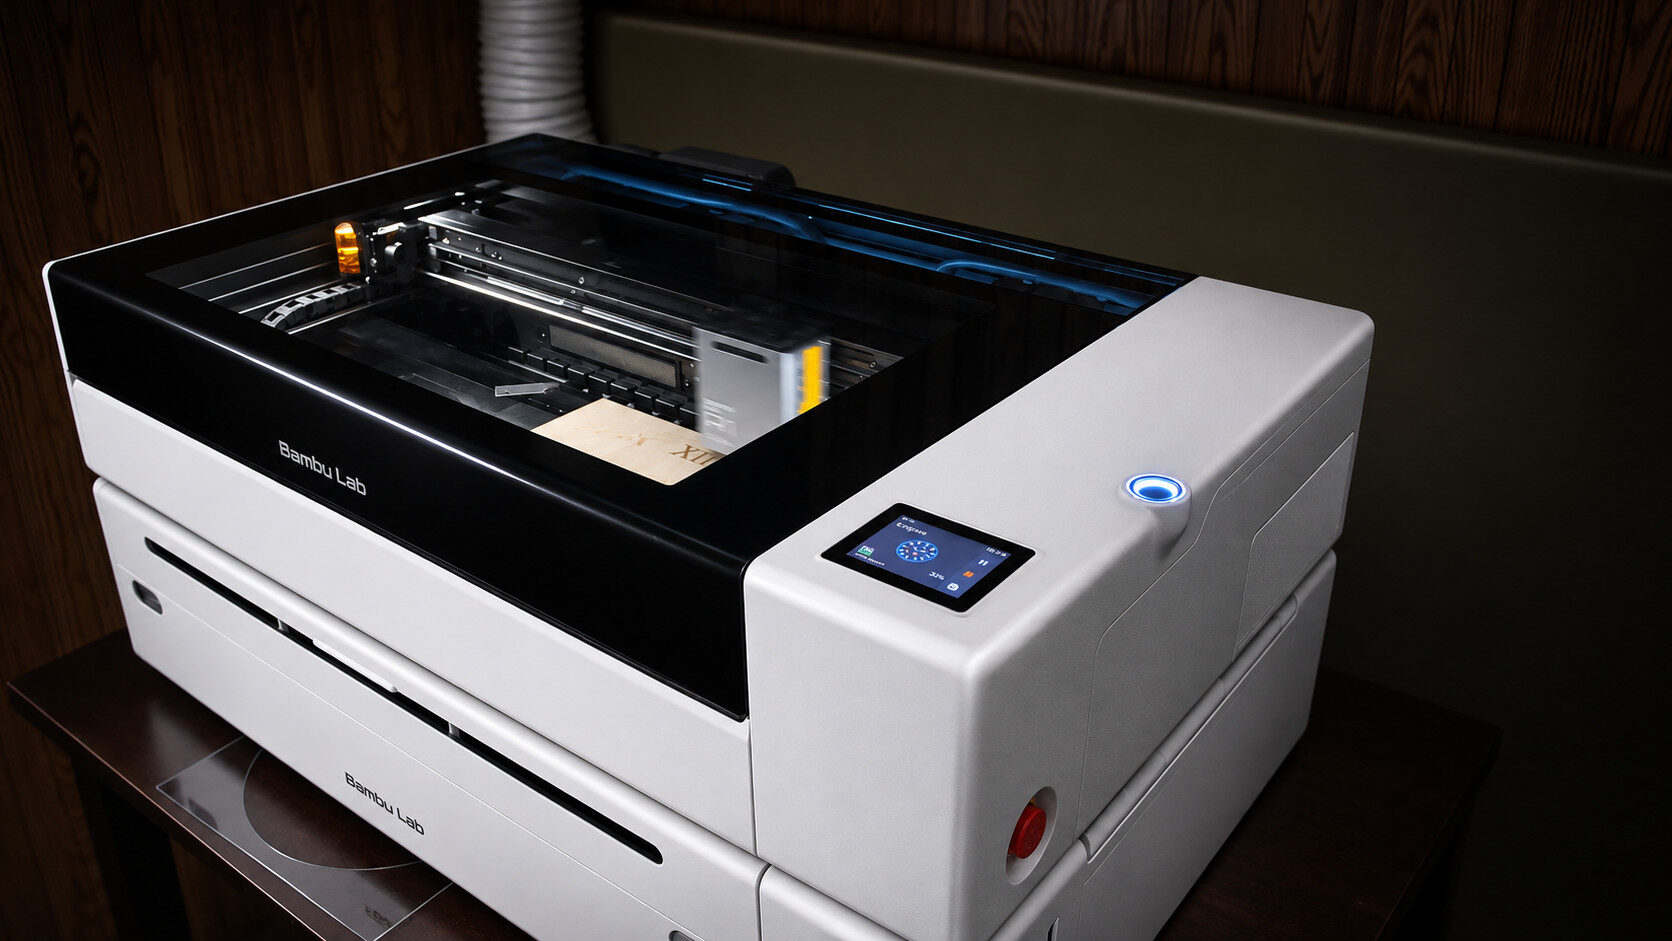
It’s clear that this is a platform, and Bambu is clearly hoping you’ll buy into the whole ecosystem. With a multitude of attachments already available, the question I kept asking myself was whether each attachment earns its place on the desk. Depending on what you are looking to design, the answer can range from if you have space to a resounding yes.
I’ll be honest, getting everything installed and working within the Bambu Studio was not the easiest or smoothest experience, but after a handful of hiccups, and once I used each of the accessories once, it became immediately easier, and as my projects evolved, I felt like a pro.
Bambu’s reputation is built on “unbox it, press a button, it works.” The 3D printers earned that reputation, and it’s the standard the Bambu Lab R1 is being held to. The Bambu Lab R1 doesn’t quite live up to it out of the gate. There are several stages of assembly and calibration, and a few of them were genuinely iffy. There were moments where I wasn’t sure whether I’d done something wrong or whether the machine was simply being finicky, and the instructions didn’t always make that clear.
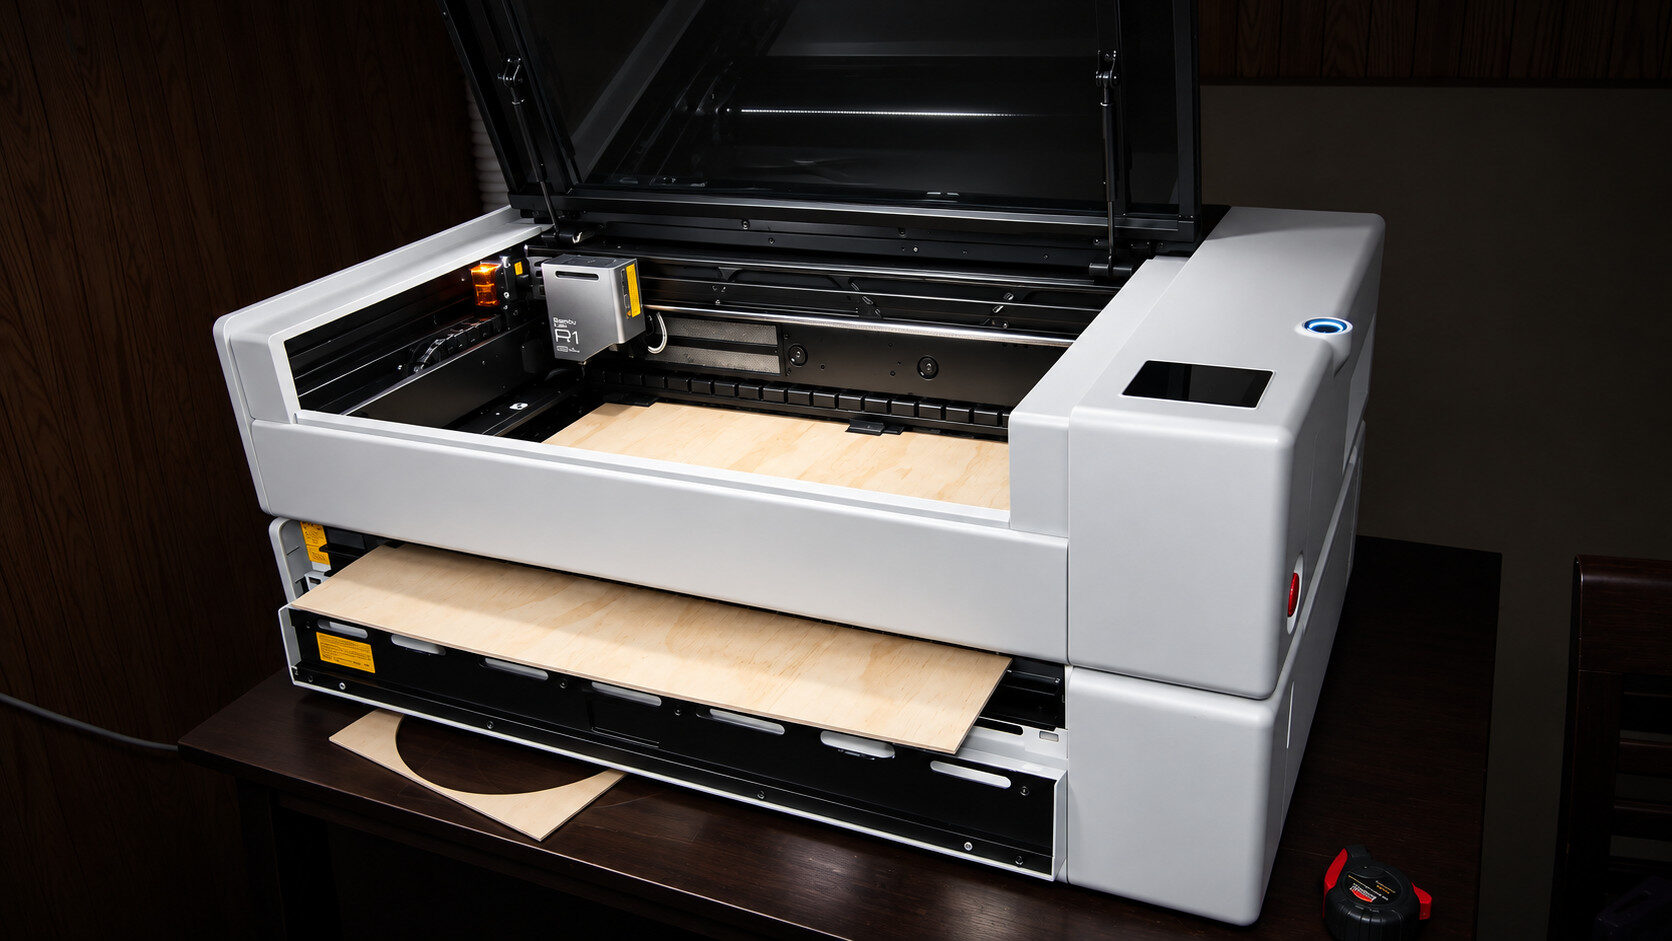
None of it was a dealbreaker though, but if you’re buying this expecting the unbox it into engraving in an hour experience of a Bambu printer, adjust your expectations just a tiny bit. Setting aside a few hours, keeping the manual open, and googling a handful of things like switching engraving modes made the experience much easier. It’s the kind of setup where patience pays off, and where the second time through would probably take half as long.
“You don’t need to learn vector design or wrestle with toolpaths. You import, you position, you press go.”
The software workflow is delightfully simple, once you can pair the Bambu Lab R1. You can drop in essentially any image, and the machine will engrave it. Photo, logo, scan, artwork, it doesn’t matter; for a lot of people, that alone is the whole appeal. You don’t need to learn vector design or wrestle with toolpaths. You import, you position, you press go.
But there’s a second mode, and it’s where things get interesting. If the image you pick or make suits it, you can vectorize it with the touch of a button within Bambu Studio, which lets the machine produce finer, crisper detail than a straight raster burn. Line art, logos, maps, and anything with clean shapes benefit enormously. The difference between a raster engrave and a vectorized one in the right image is not subtle. Edges sharpen up, thin lines hold together, and the result looks incredible and professional.
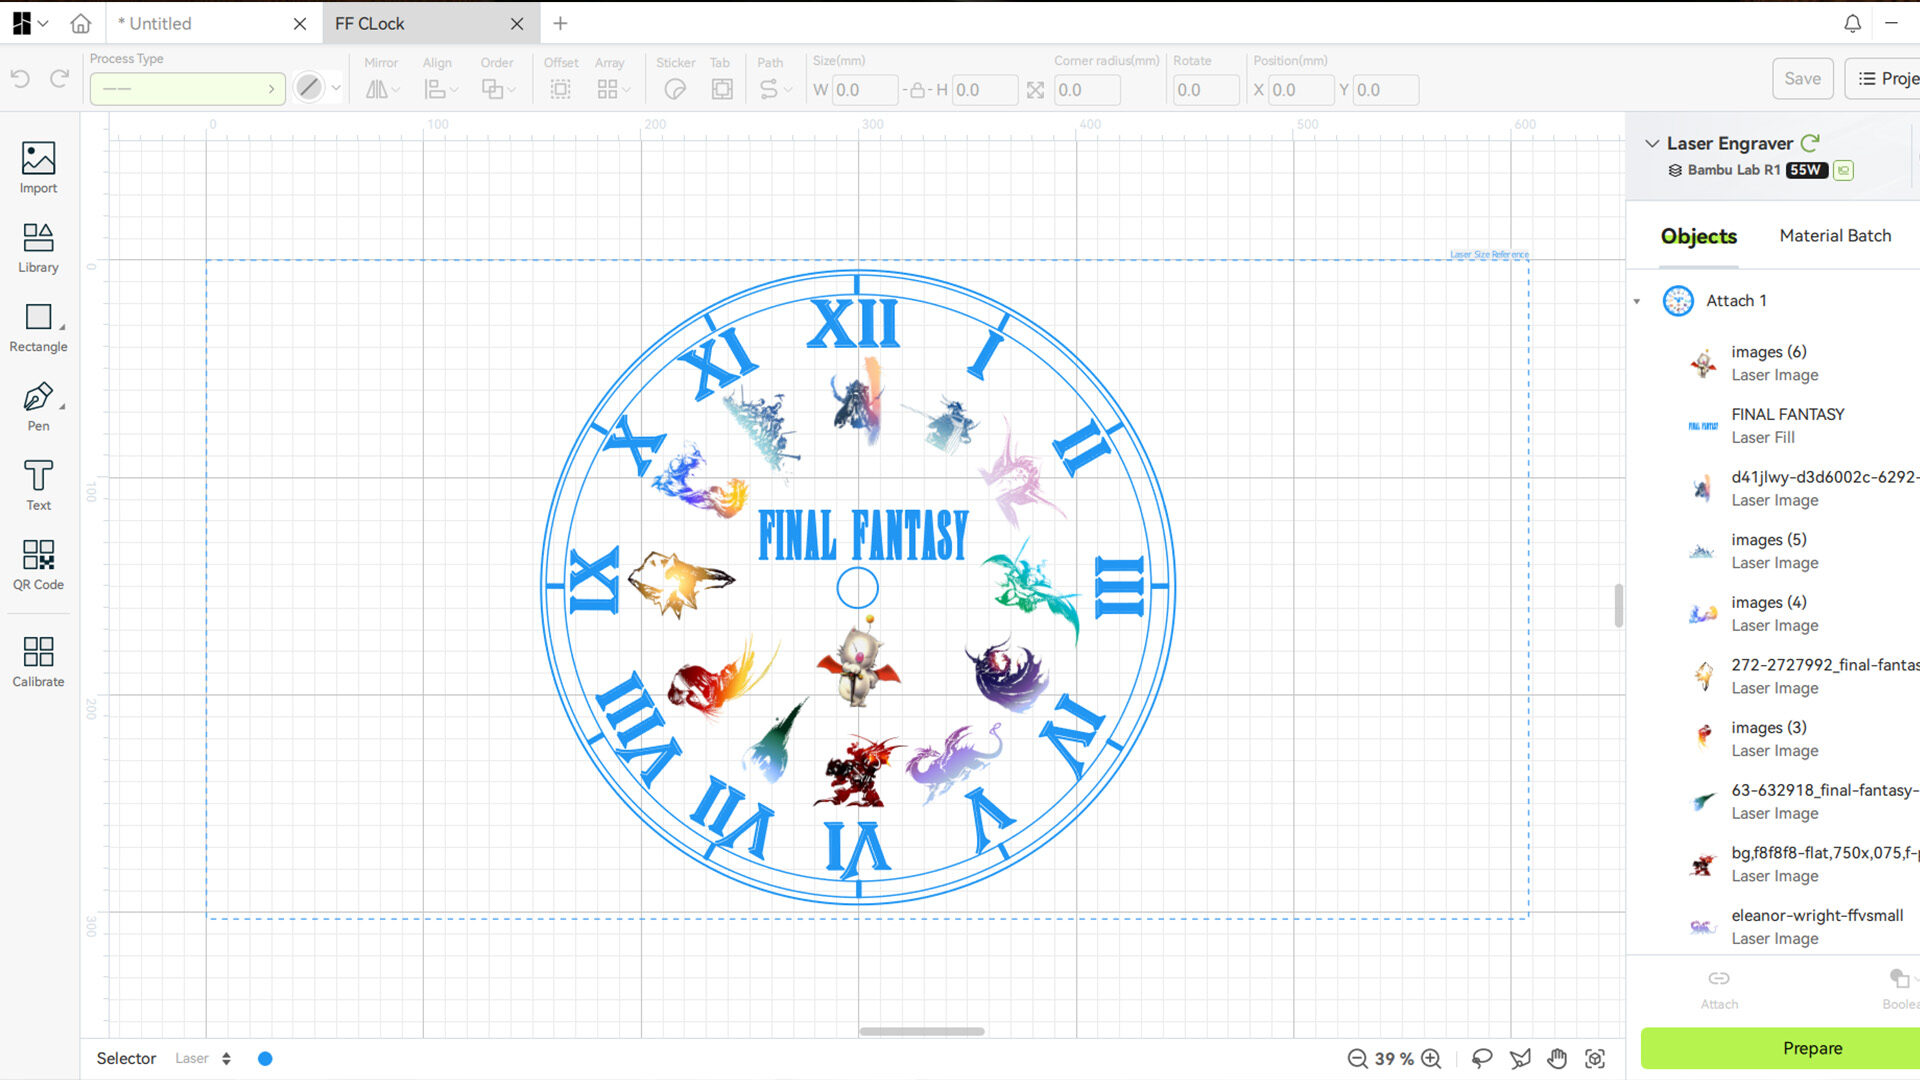
The caveat, of course, is that vectorizing isn’t all magic. Feed it a busy photograph, and you’ll get a mess, so you do need to develop a feel for which images suit which mode. That’s a small learning curve and a pleasant one, because the software gives you enough feedback to learn quickly. For a consumer machine, this is the right balance: easy by default, powerful when you want it.
My first real project was a sheet with some wording and a small image, but done with raster and vectorizing the image, and it was a good test of the fundamentals: cutting and engraving on the same piece. It helped me get my alignment right, and for a first piece, it turned out great. Engraving quality on the base machine is strong, with clean lines, consistent depth, and minimal scorching lines you can see from other engravers when the dialling is not right.
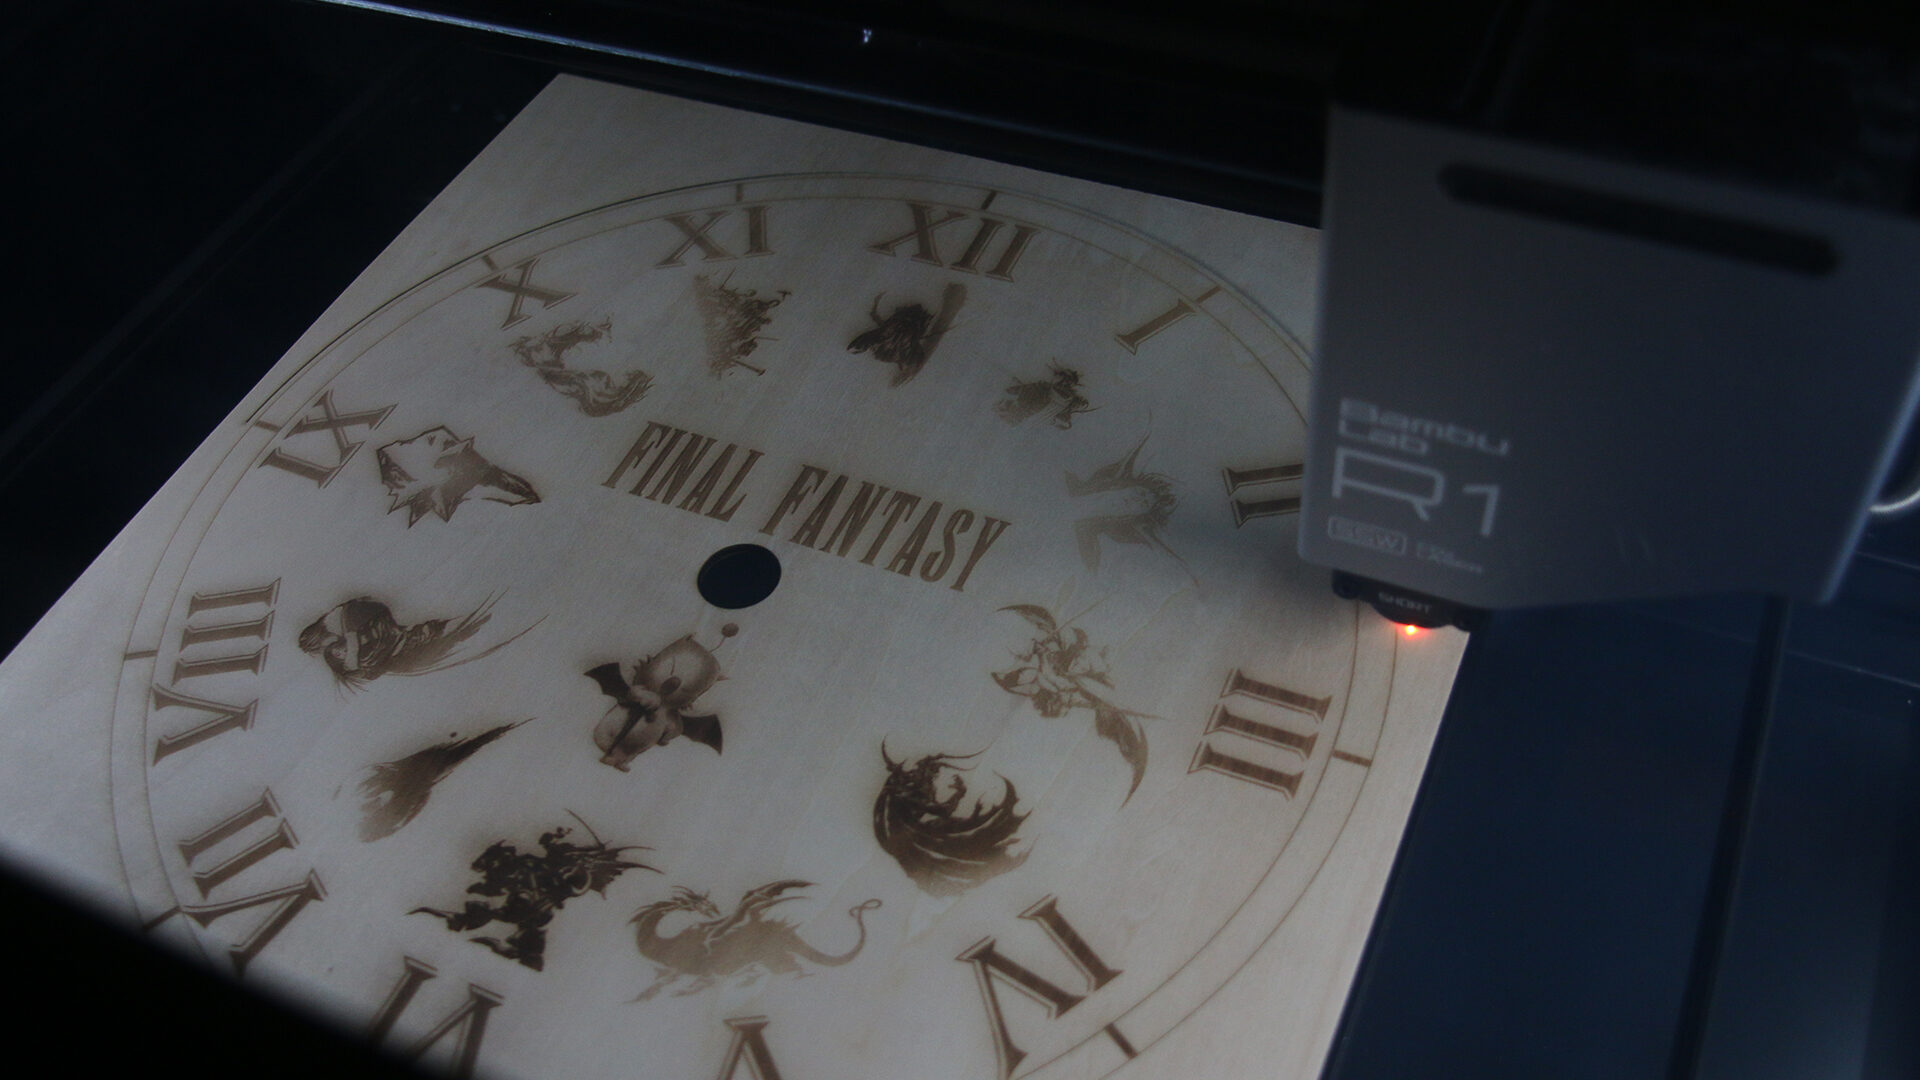
The second project I did really put everything to the test: a clock. It was about being able to line everything up, rasterize some of the images, raster the other busier ones, and cut out space for the hands. This is the sort of project the Bambu Lab R1 is built for: a few hours, a satisfying result, and something you can hand to somebody as a gift. It’s a machine that makes you want to find the next excuse to use it.
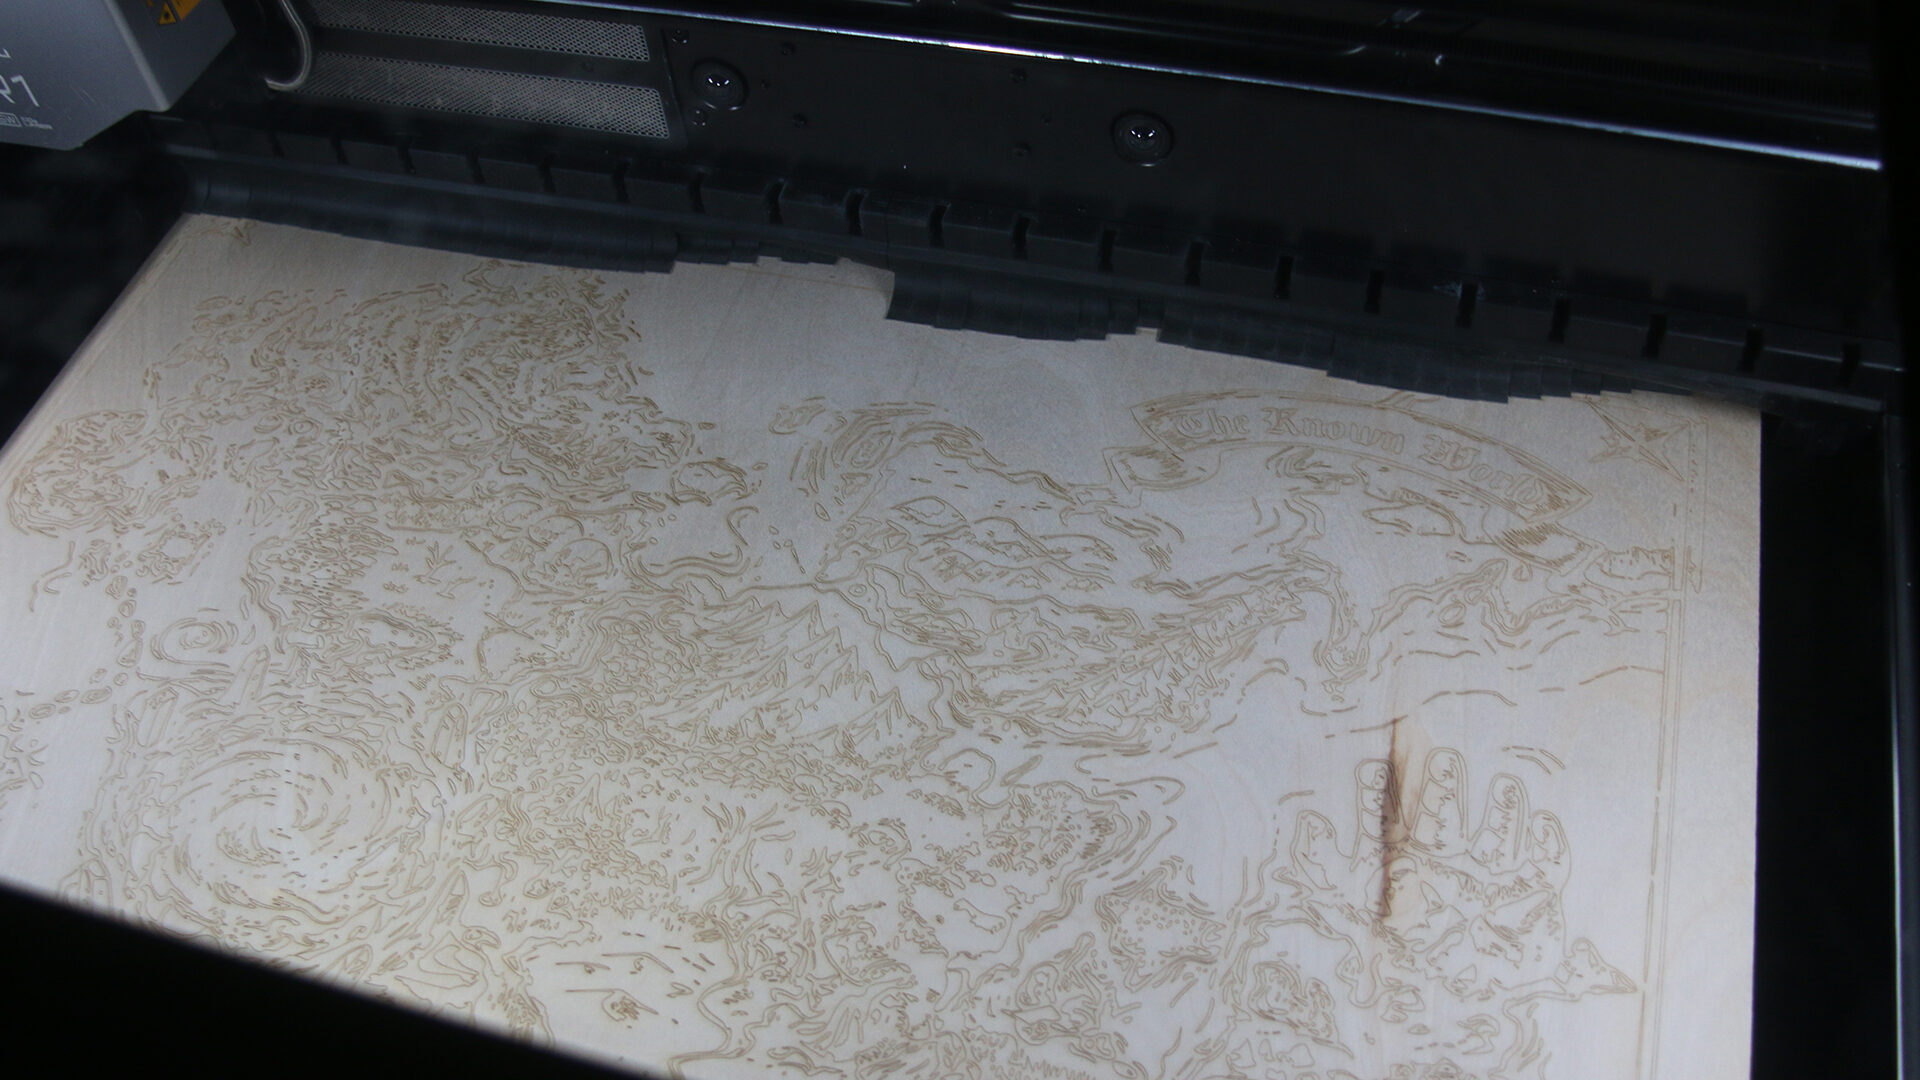
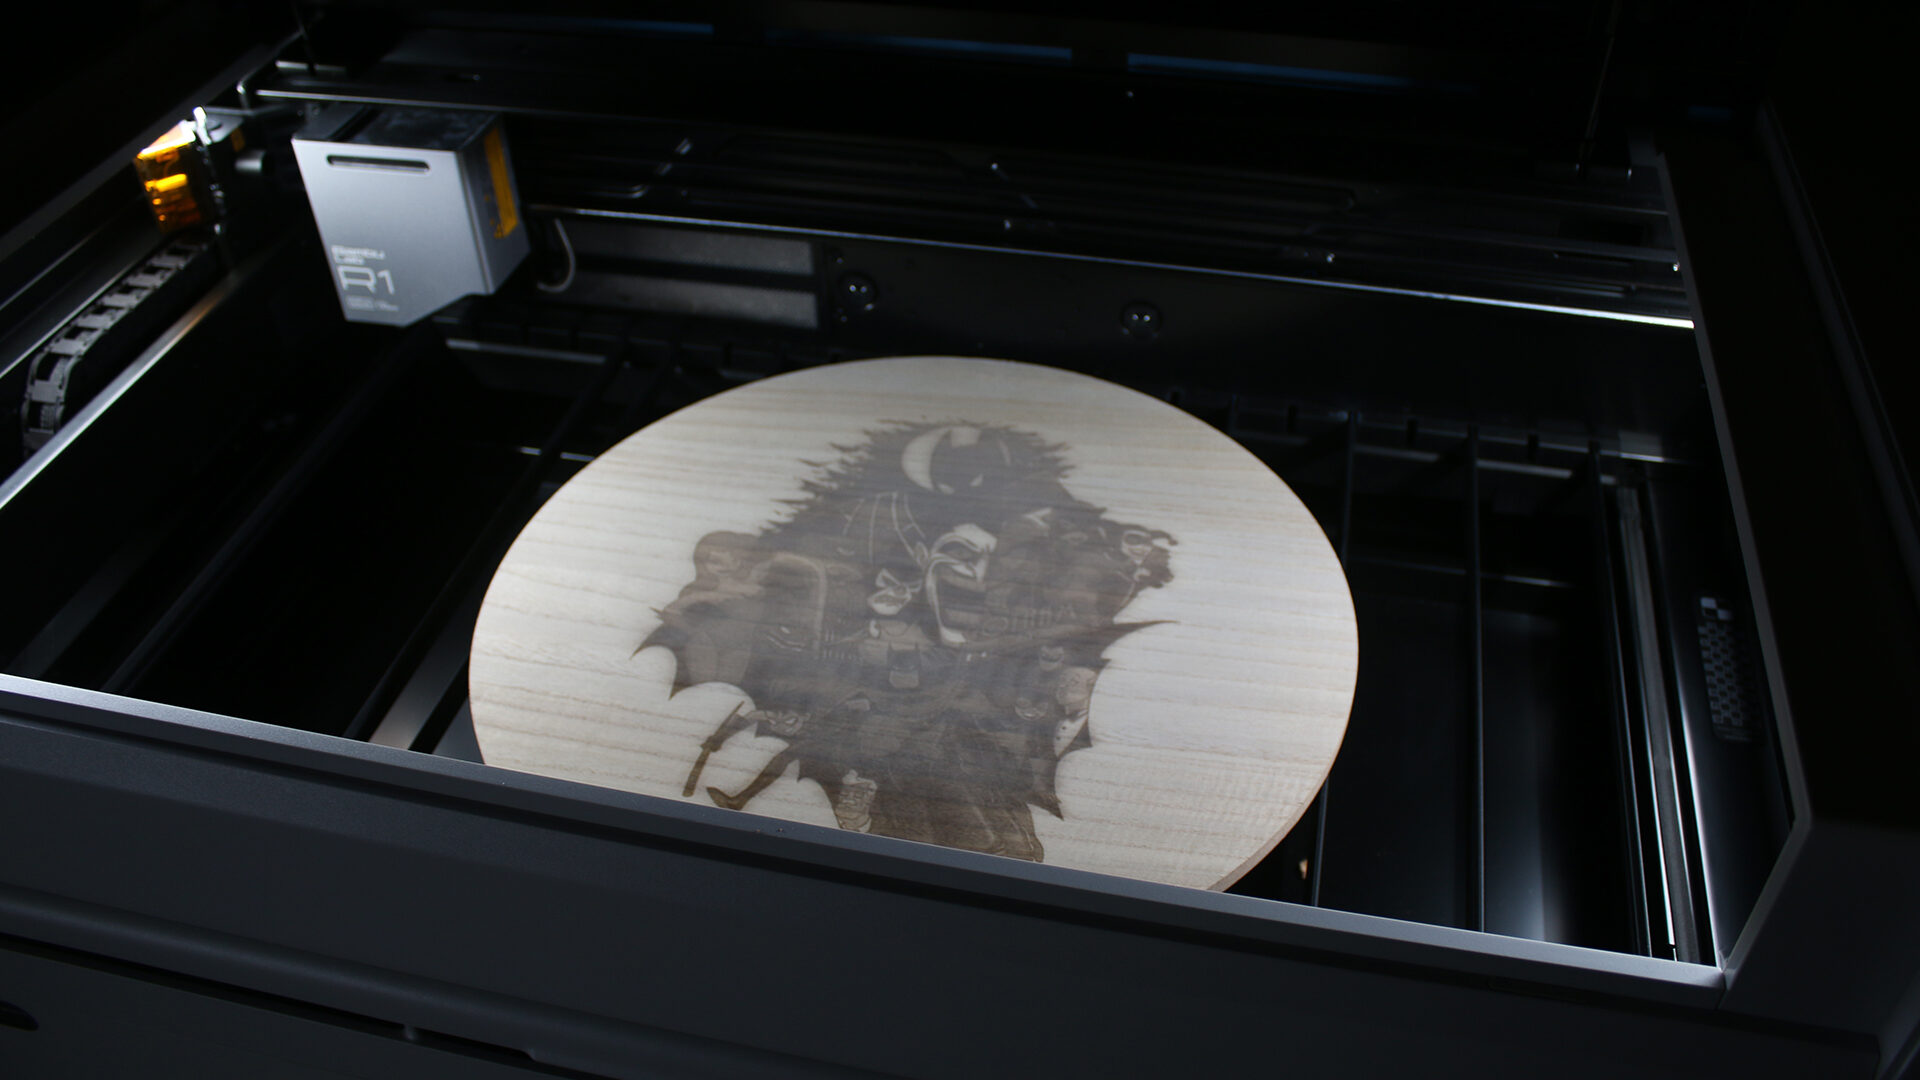
If I had to pick the attachment that most changes what the Bambu Lab R1 can do, it’s the conveyor.
Ordinarily, a laser engraver has a fixed work area, and that area is your ceiling. The conveyor changes that by feeding material through the machine so you can work on pieces larger than the bed would normally allow. For me, that meant one thing: a world map for my new D&D campaign.
“Seeing it laid out on the table at game night, and watching my players lean in to trace their route across it, was one of those moments where I realized that the possibilities are endless when it comes to tools like the Bambu Lab R1.”
If you play tabletop RPGs, you know the joy of a good physical map. Mine came out as a large, detailed piece with coastlines, mountain ranges, and landmarks all engraved cleanly across a size I could never have done all on this wooden sheet that I plan on cutting once I finish painting.
Because the map is essentially line art and shapes, it was a perfect candidate for the vectorize mode, and that detail made all the difference. Seeing it laid out on the table at game night, and watching my players lean in to trace their route across it, was one of those moments where I realized that the possibilities are endless when it comes to tools like the Bambu Lab R1.
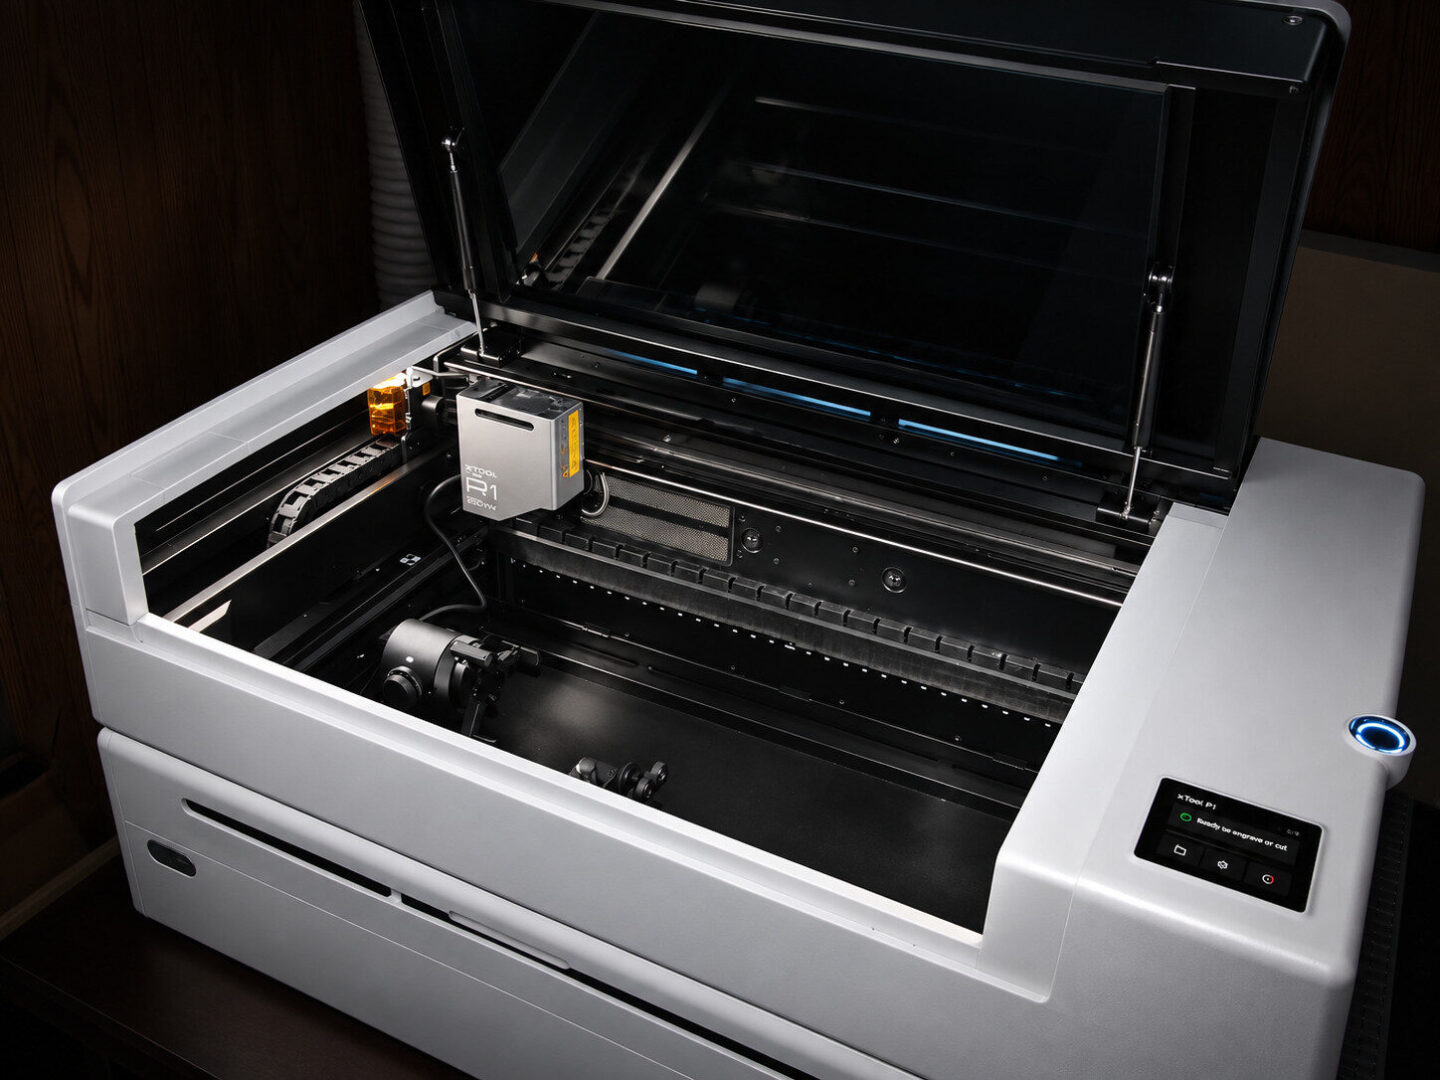
The conveyor is pretty easy to use, as long as you follow the instructions for feeding long material through, which does require a bit of care, and alignment across a big piece demands attention so that your sections line up. It took me a little trial and error to get that right, but the payoff is real. It turns the Bambu Lab R1 from a fun desktop toy into something that can handle ambitious projects, and for me it’s the attachment that justifies the ecosystem.
The rotary attachment is the other big one, and it does exactly what it promises: it rotates cylindrical objects so you can engrave around them. I used it on a few mugs, which are the canonical use case for a reason.
Engraving a flat surface is easy. Engraving a curved one is where a lot of machines fall apart, either because the focus drifts as the surface curves away or because the rotation isn’t consistent. The Bambu Lab R1 with the rotary handles it well. The designs came out evenly across the surface, the lines held together, and the finished mugs looked properly professional. I’d comfortably give one to a friend, and in fact I did.
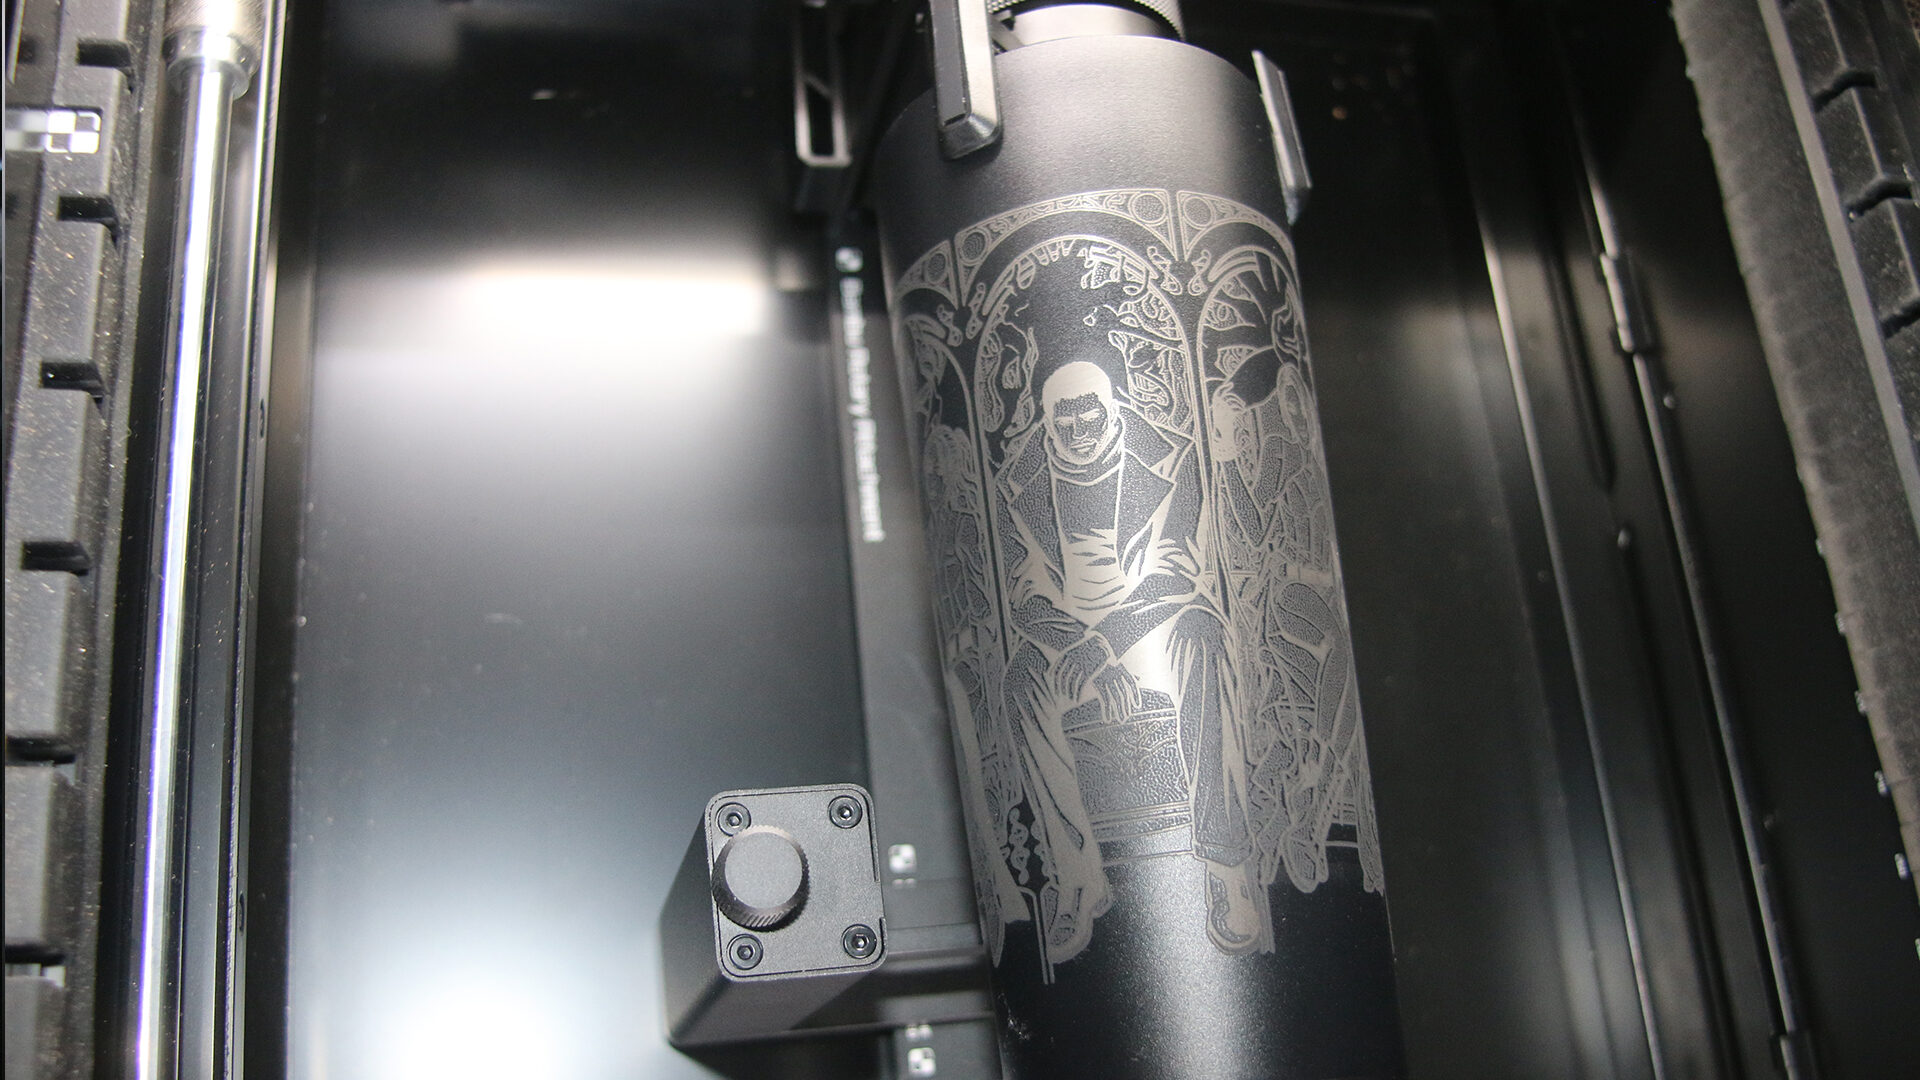
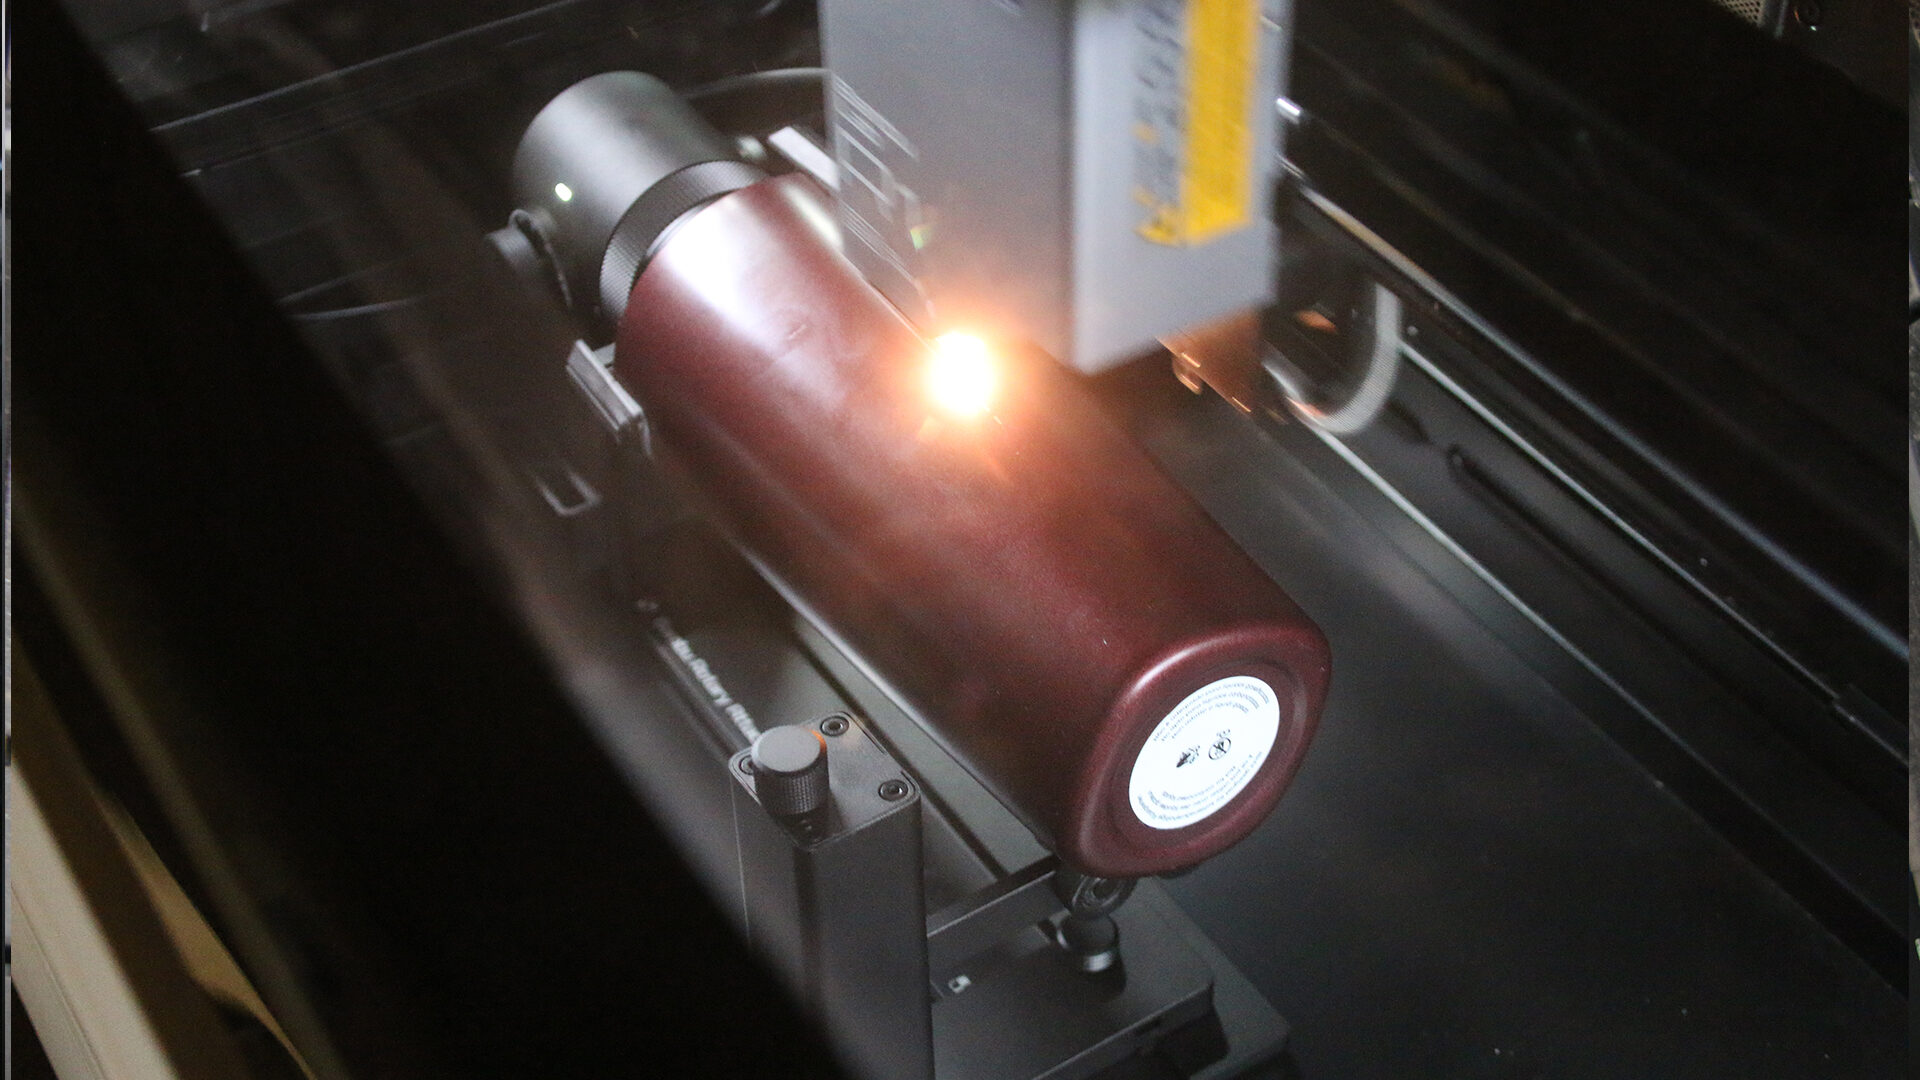
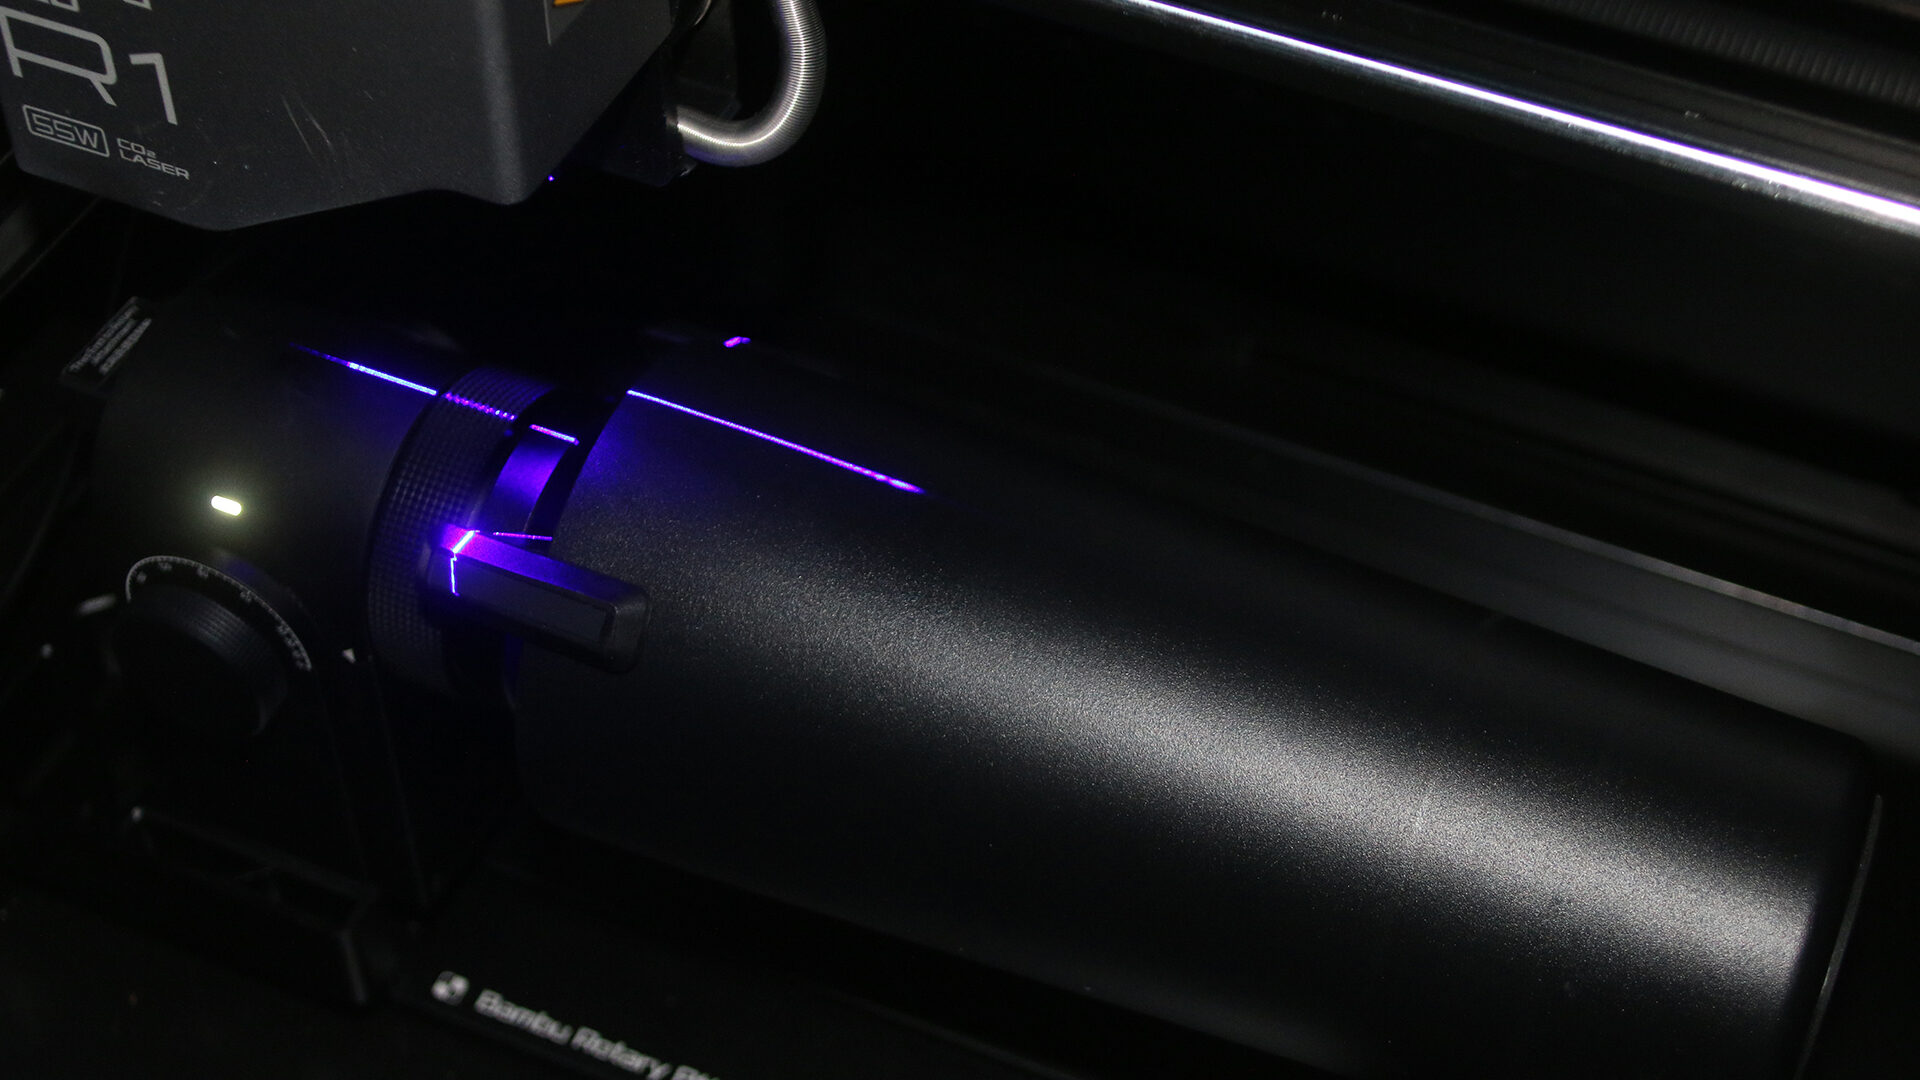
As with the rest of the system, there’s a setup process, and you’ll want to get your object positioned and your measurements right. Once you do, it’s smooth, and the results are exactly what you’d hope for. If you’ve ever wanted to make personalized drinkware, tumblers, or any cylindrical gift, the rotary is a no-brainer add-on, and it’s probably the one that will see the most casual use.
The riser is the least glamorous of the three attachments, but I don’t want to undersell it. It’s the one that gives you the flexibility to deal with taller objects, and while it’s not going to get the headlines of the conveyor or the rotary, it’s the sort of accessory you’ll be glad to have the first time you try to work on something chunky.
“Once everything is set up, the Bambu Lab R1 feels like a great piece of equipment for those in the maker space.”
It’s also a good illustration of how Bambu approaches this platform. The company seems to understand that a base machine will only get you so far, and that the real value is in making the machine adapt to what you want to make. The riser is a small part of that, but a meaningful one.
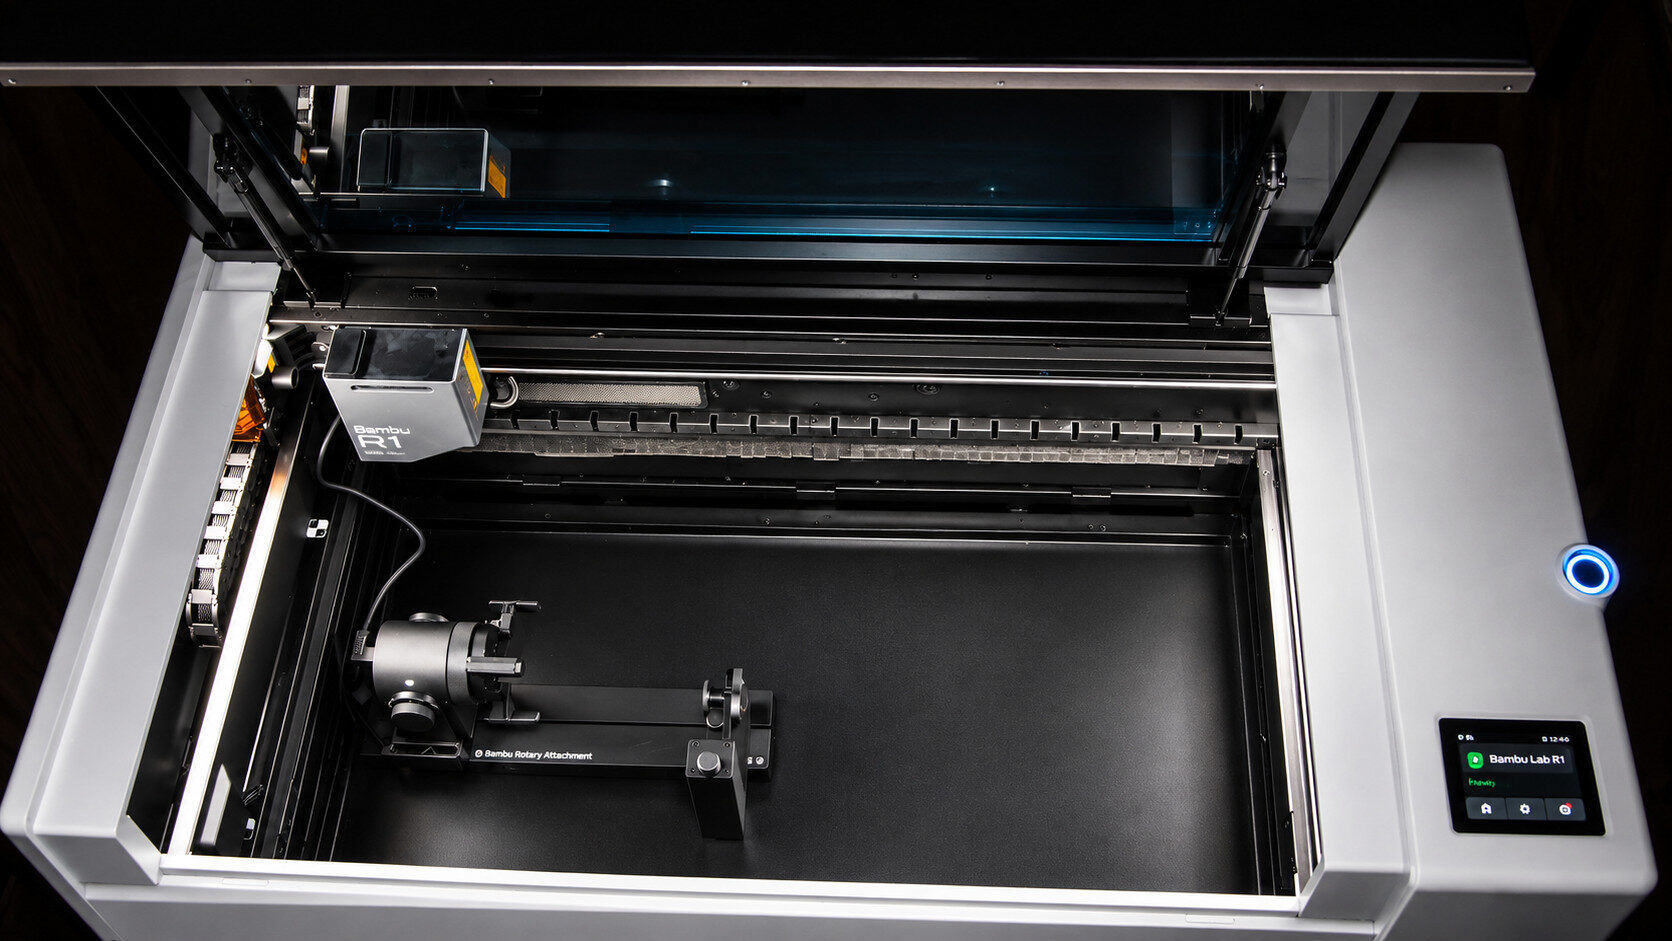
Once everything is set up, the Bambu Lab R1 feels like a great piece of equipment for those in the maker space. It’s solid, it’s tidy, and it looks like it belongs in a modern maker space, and believe me, that matters when you are sharing space with this desktop-sized machine.
In day-to-day use, the experience is a world away from the setup, with jobs that run reliably, the results are consistent, and the software, again past the setup experience, is really quite handy. I never had a project fail because of the machine misbehaving mid-job, and that reliability is exactly what you want from something you intend to use regularly.
A few practical notes if you are considering a Bambu Lab R1. Ventilation is not optional. Laser engraving produces smoke and fumes, and you need a plan for getting those out of your space. Bambu Lab does sell a ventilation setup that works fantastically, and with a setting on the machine that gives you a countdown for when it’s safe to open the machine to let the fumes dissipate a bit. Bambu Labs really has thought of everything to make it as easy as possible for everyone to use, as long as you have the space.
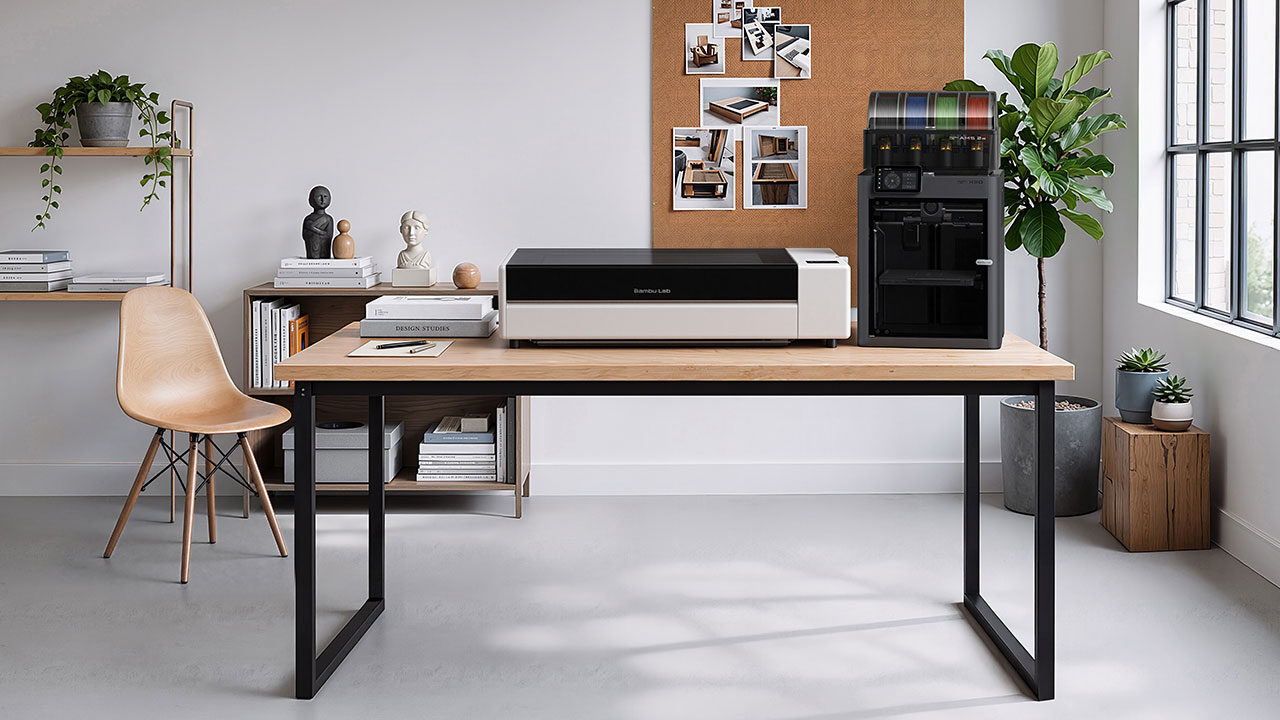
If you’re a hobbyist or small-scale maker who wants an easy, extremely capable, nice-looking, desktop laser engraver without needing a programming background or graphic design experience, the Bambu Lab R1 is an excellent choice. If you want to make personalized gifts, props, tabletop gaming gear, signage, or small-batch products, it’s a fantastic tool. And if you’re already in the Bambu ecosystem, it’ll feel like a natural extension of your workshop.
A clock that looks incredible, a D&D world map that wouldn’t have been possible without the conveyor, and a handful of mugs and other decorations that I was proud to hand out: those are the results that tell you what this machine is really about. It makes ambitious projects feel achievable, and makes you realize the sky is the limit.
The Bambu Lab R1 is a machine of two minds. The first half is setup, which was occasionally confusing, and not as open and user-friendly as I’d hoped from a company with Bambu’s past pedigree of open and user-friendly, within an hour. That being said, the second half is everything that comes after, and that half is genuinely great. The software is approachable, the vectorization option adds real depth, the engraving quality is excellent, and the attachments turn it from a neat desktop gadget into a legitimate creative platform.