As someone who considers themselves a designer and artist, my work tends to take form on a digital canvas, making art often feel disconnected from reality due to missing that tangible, tactile element that comes with other mediums. In 2018, I had the opportunity to partake in an art show, in which I learned the hard way just how difficult it is to print and cut stickers and business cards to a level that I was comfortable with selling and giving out.
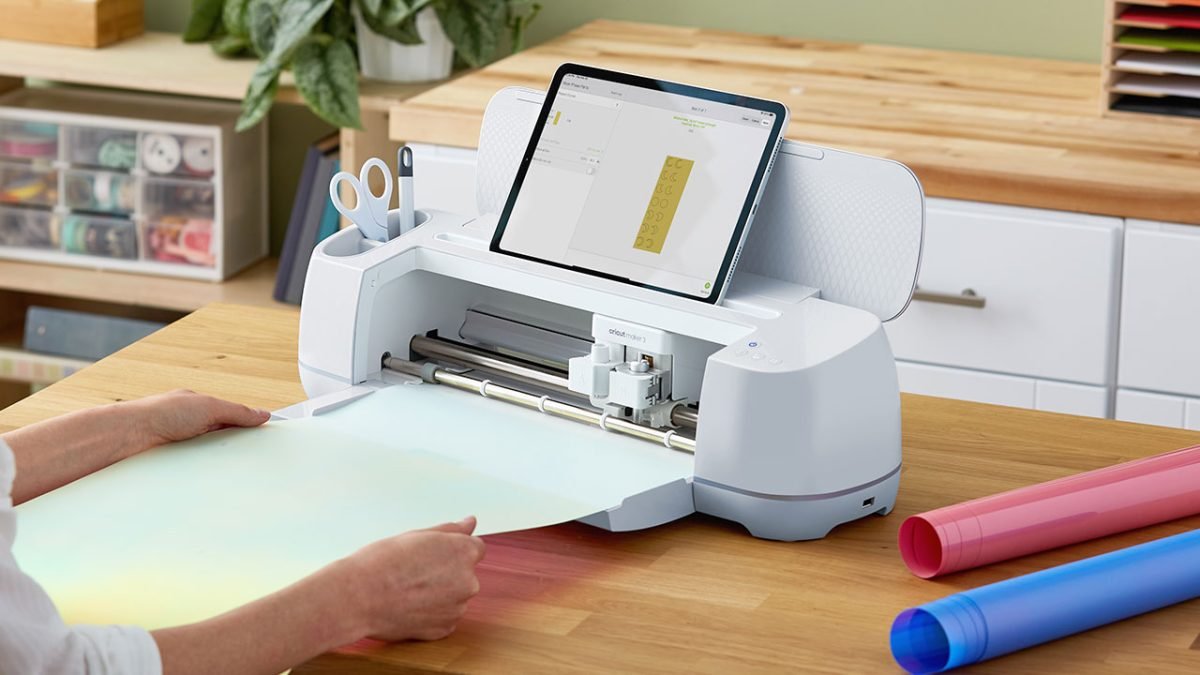
I wanted to look for a means to cut out the middleman, an affordable but reliable means of producing both vinyl stickers and prints, in addition to more business-oriented cut-outs. Enter the Cricut Maker 3, a moderately sized cutting device measuring 26.25 x 11 x 11.2” that can handle a wide assortment of different materials and textures thrown at it.
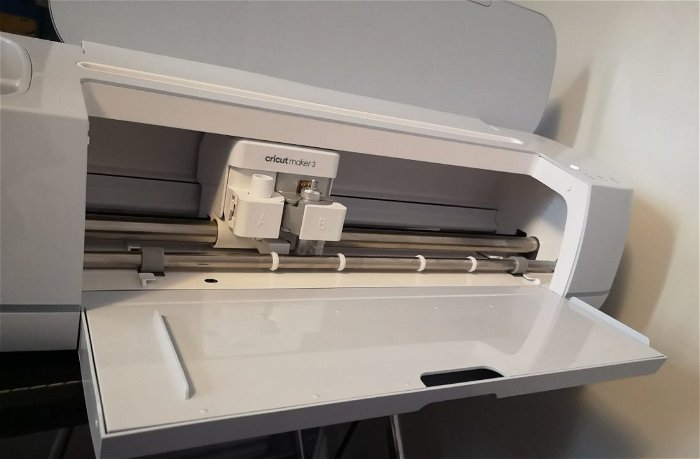
Included in the bundle I was sent for review, Cricut sent out the Cricut Maker 3 itself, a set of prying tools and a box full of different materials, including different coloured vinyl, textured vinyl, and clear transfer. The device itself ships with a blade installed with another housing reserved for optional attachments for additional cutting options.
For my purposes, I stuck to vinyl and cardstock, testing both the supplied Cricut branded vinyl included, in addition to generic vinyl paper I purchased online. It should also be noted that the Cricut Maker 3 does not have one of their adhesive cutting mats included, something required when not using Cricut branded materials.
“Enter the Cricut Maker 3, a moderately sized cutting device measuring 26.25 x 11 x 11.2” that can handle a wide assortment of different materials and textures thrown at it.”
Setting up the Cricut Maker 3 was a breeze, as I found the Cricut Design Space software to be easy to follow, which consisted of pairing the device via Bluetooth and going through the on-screen prompts within the application.

Now, depending on the kind of person you are, the Cricut Maker 3 can be either a great addition to your toolset or a functional but somewhat expensive piece of kit, best reserved for holidays and special occasions. If you’re someone who has their own designs, be it transparent PNG’s or vector-based files, the Cricut Software is mostly useable without the need of an active, paid subscription. However, a subscription is recommended for those just looking to DIY and use Cricut’s library of fonts, images, and other high-quality assets.
As I tend to use the machine to cut my own designs, I stuck to their basic/standard Cricut Access plan, which costs $9.99 a month or $95 a year. The standard plan includes access to over 200,000 images, 700+ fonts and ready-to-do projects for those wanting to jump in immediately and 10% off shipping for materials and other Cricut products. The slightly more expensive premium plan, which can only be purchased for the year at $119, includes all the above benefits on top of free shipping over $50 and an additional 10% off purchases.
“Setting up the Cricut Maker 3 was a breeze, as I found the Cricut Design Space software to be easy to follow…”
As for many, the library of assets available through the Cricut Design Space software will be more than enough to keep them busy with things to print and design. I decided to test just how good the included vinyl would look on a transfer.
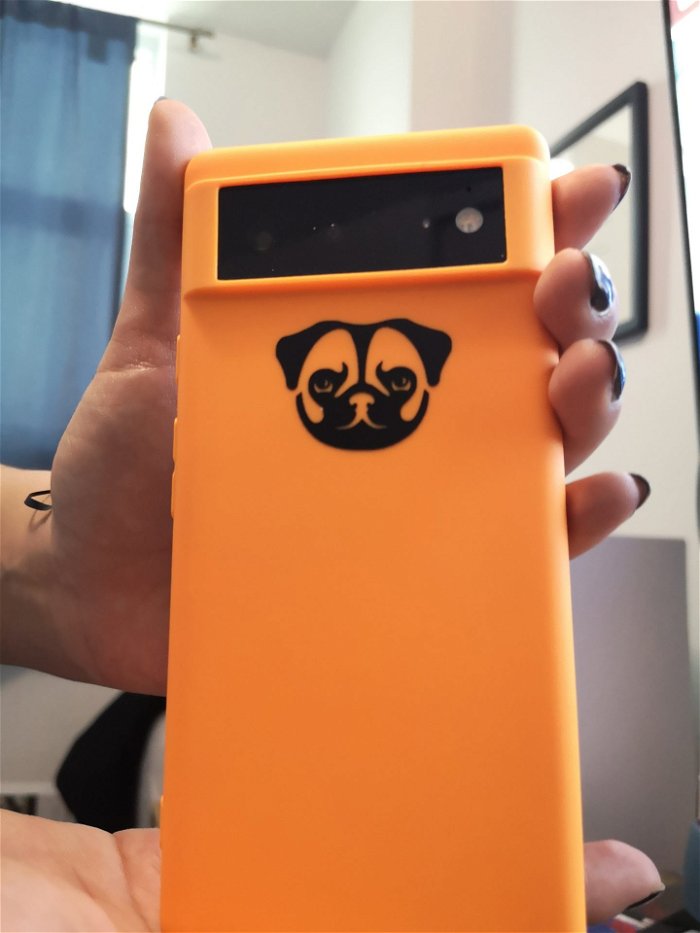
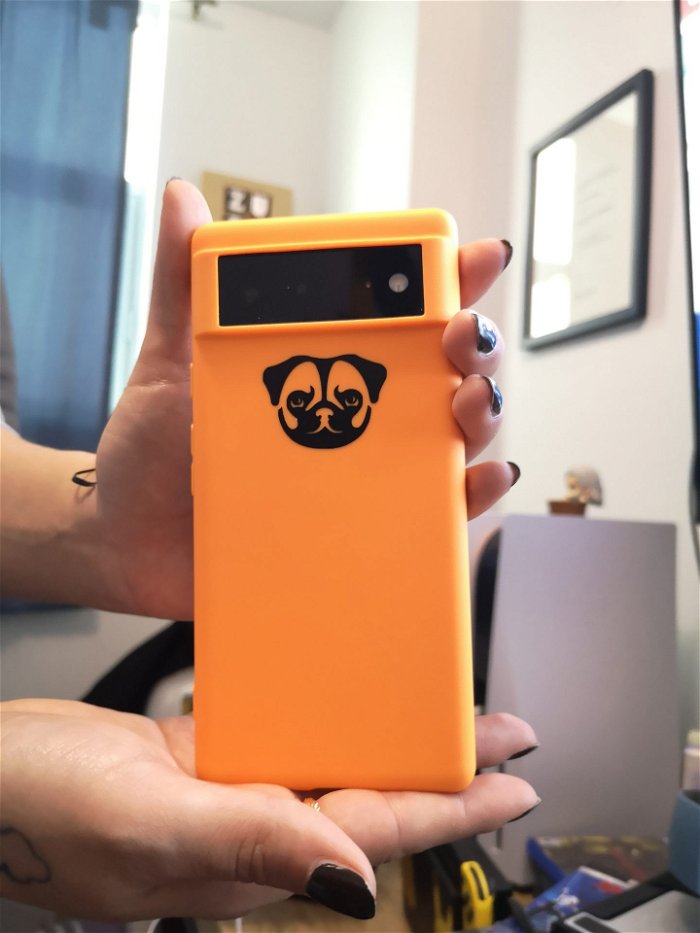
After a few test prints, testing out fonts and different vector-based images, I decided to print a Pug icon for one of my friends who happened to be over at the time. After selecting the desired image, it was simple to place it onto the available grid, representing the printing space and proceeding to the Make it Option.
From here, users are greeted with a better representation of what images will look like when printed onto the actual substrate, which in my case was an 8.5×11 cut of Cricut’s vinyl.
From here, the application prompts users to feed the vinyl into the Cricut Maker 3’s tray. Thankfully, this process is easy as the machine features clear marks on where to slot the material. Once loaded, the machine will prompt the user to press the arrow button, which will lock the material into place. From here, pressing the Play or proceed button will start the actual cutting, which for me took around a minute at most to complete.
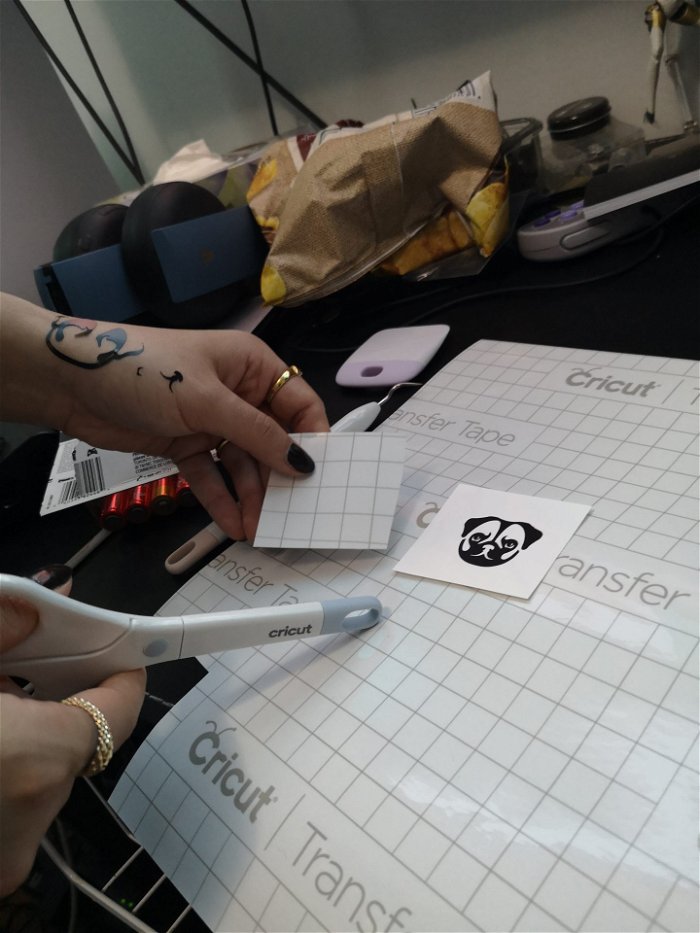
Once complete, I used the provided board and prying tool to lift the design, gently out of the excess vinyl, before using the included clear transfer material to create a clear sticker that my friend then placed on her smartphone case.
“The overall process from cutting to adhering the cut material to my friend’s phone was straightforward and intuitive.”
The overall process from cutting to adhering the cut material to my friend’s phone was straightforward and intuitive. From here, I was excited to test out something more intricate in terms of things to cut, which took the form of a quick font test. Instead of using any of the available fonts made available with my trial subscription, I wanted to see what would happen if I imported my own font library from an external site. I’m happy to report that the Cricut Design Studio application seamlessly detected the newly installed font, allowing me to do another test, this time on cardstock.
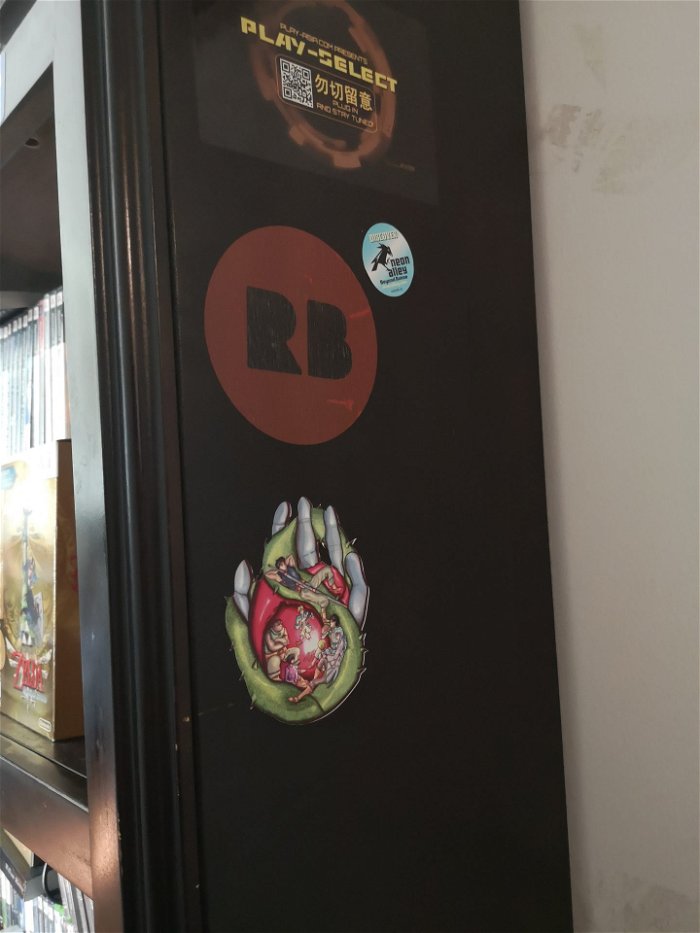
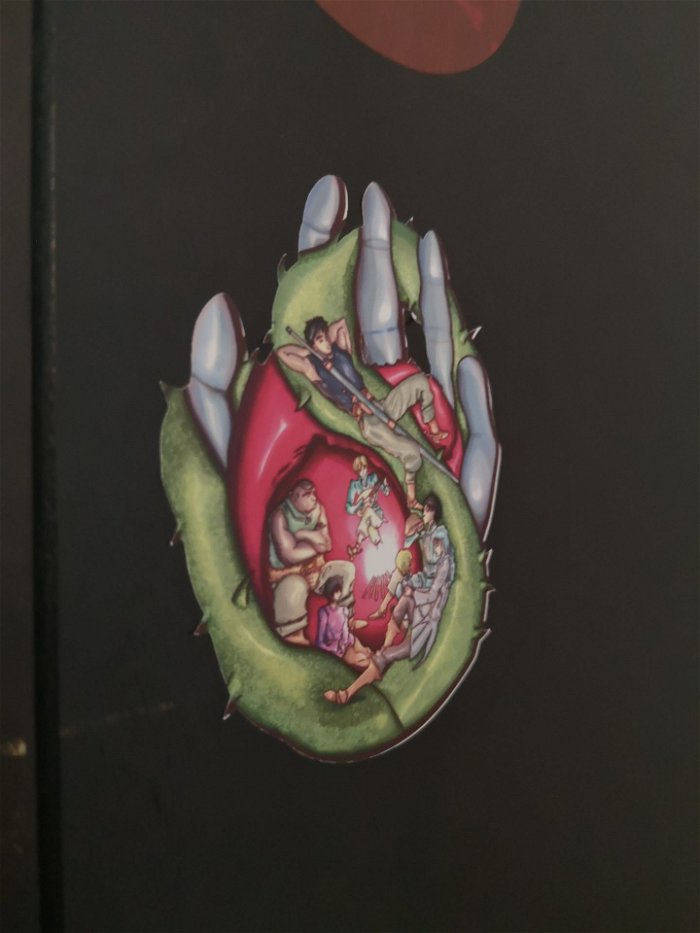
Content with both the vinyl and cardstock test, I wanted to try printing one of my own designs. One of my favourite ways of sharing my art has to be creating my own stickers. Truthfully, however, having to cut individual stickers out is a huge pain, mainly when working with more intricate designs. For this test, I decided to cut out a piece I did for a previous tablet review.
As I would be repurposing something I had already made, before importing the file into the Cricut software, I first removed the background and cleaned the composition up to save it as a transparent PNG file. From here, I opened up Cricut Design Space and created a new project, importing the PNG file accordingly. Importing your own images prompts users with the option to choose the overall complexity of the shape. As a general rule of thumb for my designs, selecting the most complex option yielded the best results.
From here, the rest of the process was identical to opting to use an asset from Cricut’s library. After I was happy with the size of the image, I fed the machine my own sticker paper, which required a mat that I had to purchase individually, something not needed when using Cricut branded materials.
Overall, I think it came out rather nicely for a first-time print of my own design. I do recommend, however, that those looking to print their own stickers to create borders for their designs, something I wish I had done before printing.
